Add a LiveSwitch Web Form to your website
The instructions below pertain to WordPress-based websites. If your website is not based on WordPress and you need help setting up the LiveSwitch Web Form, please contact Support at +1 844-587-9824 or [email protected].
Add an HTML Block to a WordPress Page
Step 1: Login to Your WordPress Admin Area
- Open your web browser and go to your WordPress admin URL (usually
yourwebsite.com/wp-admin). - Enter your username and password, then click the Log In button.
Step 2: Add a New Page
- In the WordPress admin dashboard, navigate to Pages.
- Click on the Add New Page button on either the left navigation bar, or the button at the top of the page.

Step 3: Create a New Page
Depending on your Wordpress version and template you may see different options after clicking the Add New Page button. If you see a popup of different pre-made page templates, it is our recommendation to close that popup by clicking the X in the top right corner and then proceed with Step 4. If you see a menu appear on the right hand side of the screen, you want to add a page title and if available select Full Width from the Template dropdown in the Page Attributes section, and then continue with Step 4.
Step 4: Add an HTML Block
- In the block editor, click the + button to add a new block.
- Search for "HTML" and select the Custom HTML block.
Step 5: Insert the HTML Code
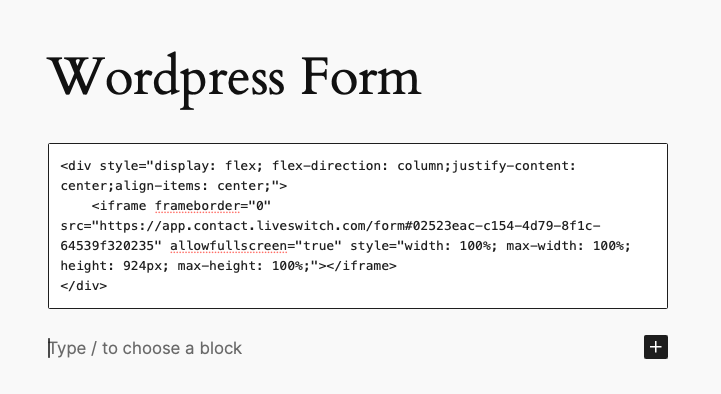
- Paste the following HTML code into the HTML block:
<div style="display: flex; flex-direction: column;justify-content: center;align-items: center;"> <iframe frameborder="0" src="YOUR_URL" allowfullscreen="true" style="width: 100%; max-width: 100%; height: 924px; max-height: 100%;"></iframe> </div> - Adjust the
srcattribute in the<iframe>tag (above) to your form URL from LiveSwitch Contact. You can get the URL using the following steps:- Login to https://app.contact.liveswitch.com
- Click on the Settings button on the left navigation menu.
- Scroll down to the Web Forms & QR Codes section.
- In the table click on the copy icon for the form you want to attach.
- Paste (cmd + v on Mac or control + v on Windows/Linux) the copied URL overtop of the YOUR_URL in the code block you copied above. If done correctly this will look like: src="https://app.contact.liveswitch.com/form#02523eac-c154-4d79-8f1c-64539f320235" notice the double quotes " are still there.

Step 6: Publish Your Page
- Once you have added and adjusted the HTML block, click the Publish button at the top right of the page editor.
- Confirm your decision by clicking Publish again in the popup.
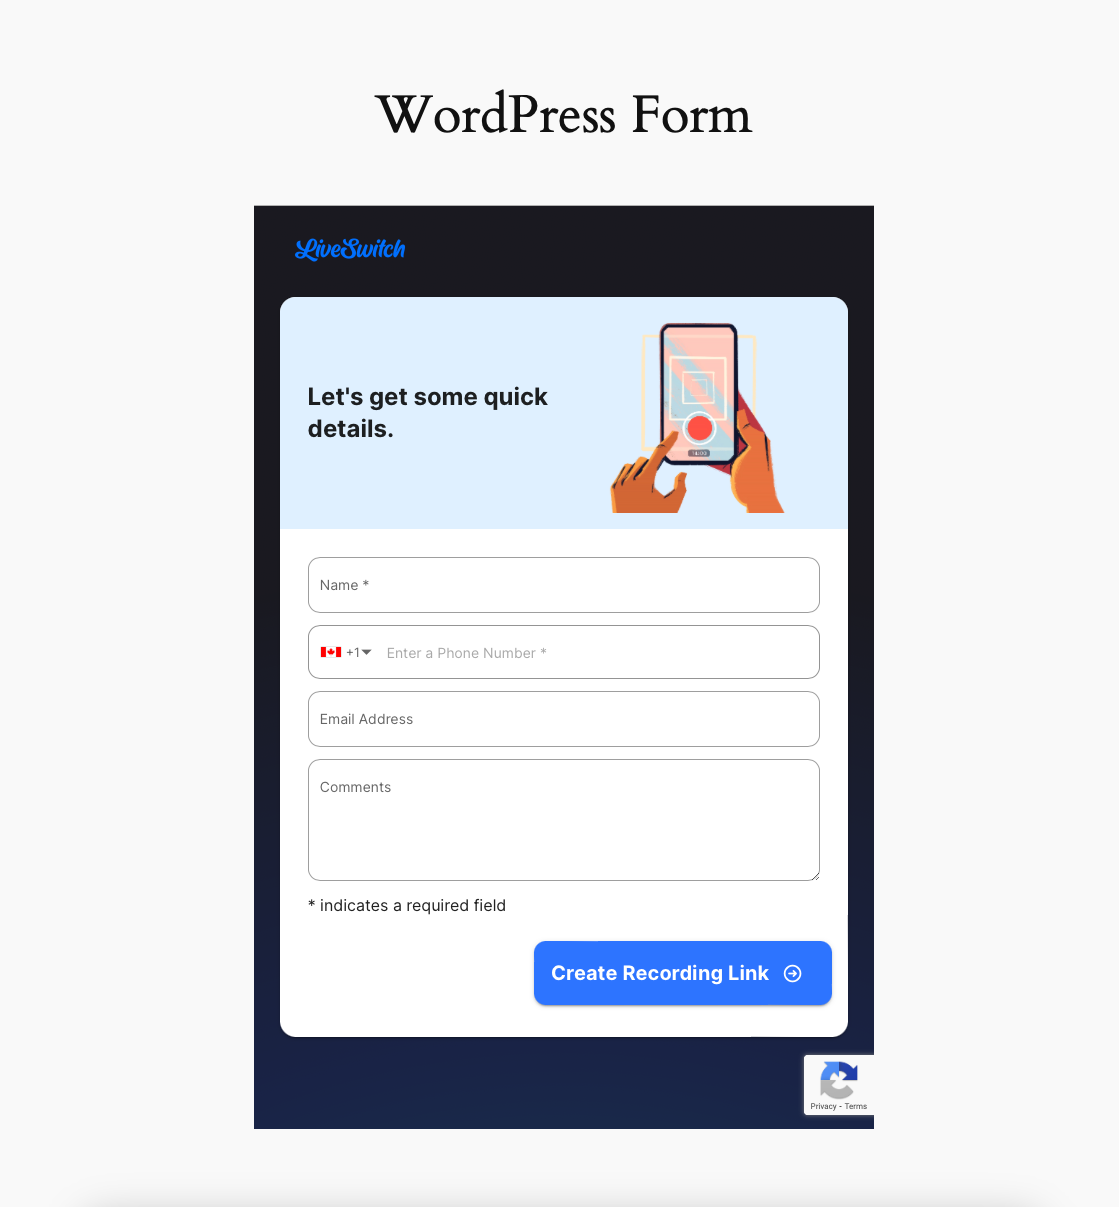
Your new page should now be live on your WordPress site.

Updated about 1 month ago
