JobNimbus
By LiveSwitch
Description
The LiveSwitch platform integration with JobNimbus allows LiveSwitch customers who use JobNimbus to manage jobs and contacts to:
- Keep JobNimbus jobs and LiveSwitch projects in sync
- Add photos, recordings, and documents in LiveSwitch and view them back in JobNimbus
- Open LiveSwitch Contact and Project pages directly from JobNimbus notes
Install the JobNimbus Integration
Features & Functionality
Sync JobNimbus Jobs with LiveSwitch Projects
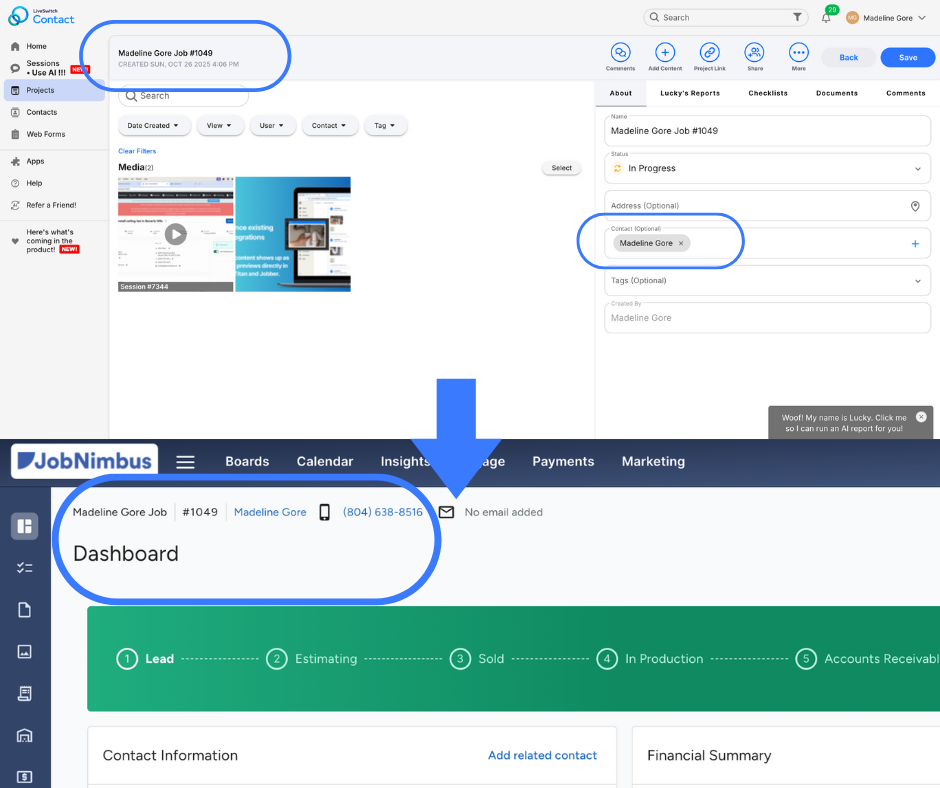
When you create and save a job in JobNimbus, LiveSwitch automatically creates a matching project and adds a LiveSwitch Project link to the job’s notes. The project is ready to store photos, recordings, and documents tied to the job for easy access and organization.
Contacts are also synced between JobNimbus and LiveSwitch, keeping customer details up to date across both platforms
Jump directly to LiveSwitch contacts and projects from JobNimbus
LiveSwitch automatically adds links in JobNimbus so your team can jump straight into LiveSwitch:
Contact notes include a “LiveSwitch Contact Record” link to view that contact in LiveSwitch, along with any related sessions and projects
Job notes include a “LiveSwitch Project” link to the matching LiveSwitch project
Easy documentation with file syncing
When you upload content in LiveSwitch to the matching project:
JobNimbus notes get links to each uploaded item (photos, documents, recordings)
LiveSwitch session recordings associated with the project appear as linked videos in the JobNimbus job notes
Flip the Switch
Enhance JobNimbus integration features and functions with the LiveSwitch Launcher Chrome extension to view media directly in JobNimbus activity notes. Install the Chrome extension
Installation
Step 1: Create an API Key in your JobNimbus account.
To connect LiveSwitch with JobNimbus, an admin of your JobNimbus account will need to create an API Key to enter in the input field in Step 5 below.
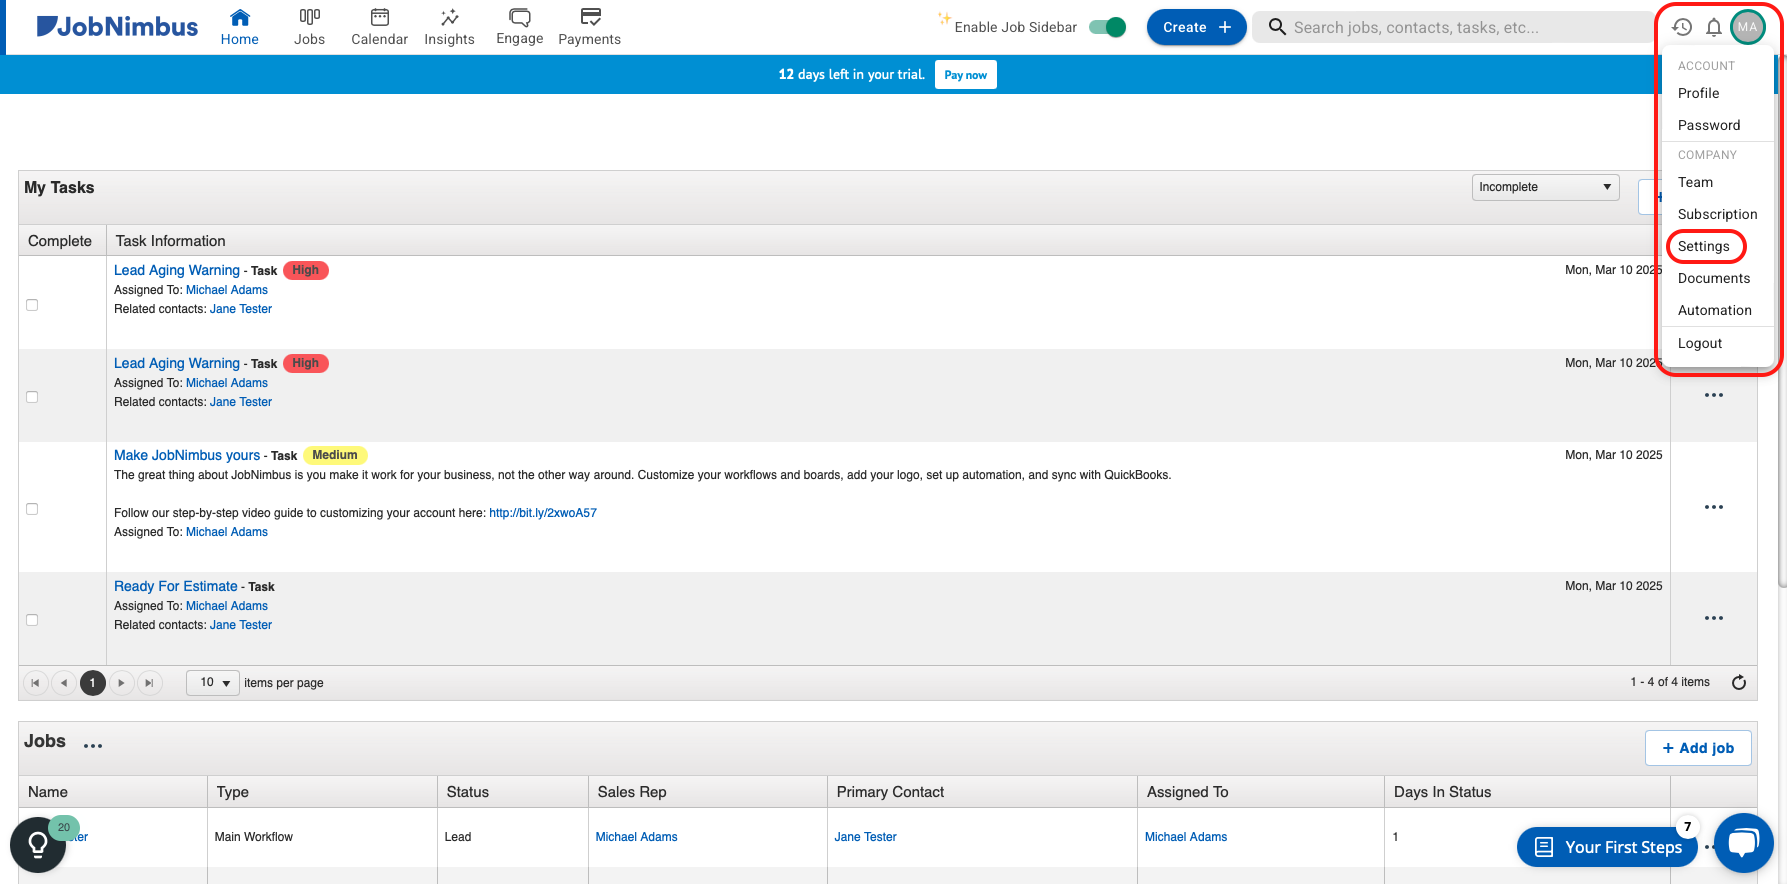
First, go to your JobNimbus dashboard and select the user initial icon in the upper right header navigation. Select "Settings" from the dropdown menu.
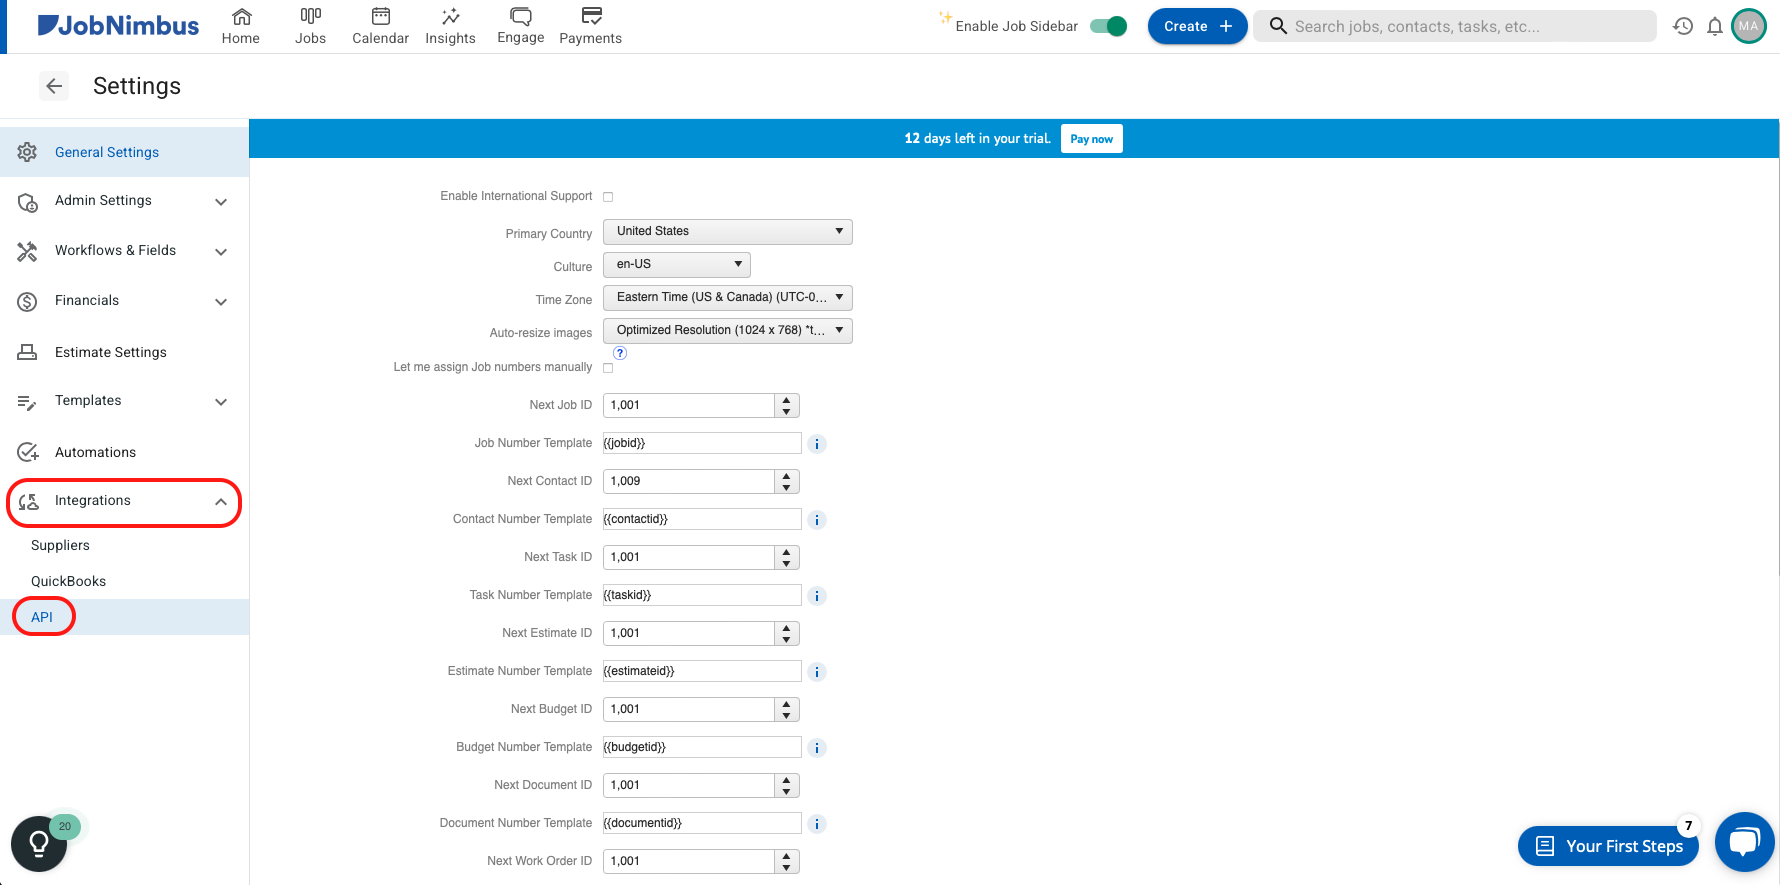
On the following page, select "Integrations" to expand the submenu and select "API" from the submenu.
On the API page, select the "New API Key" button.
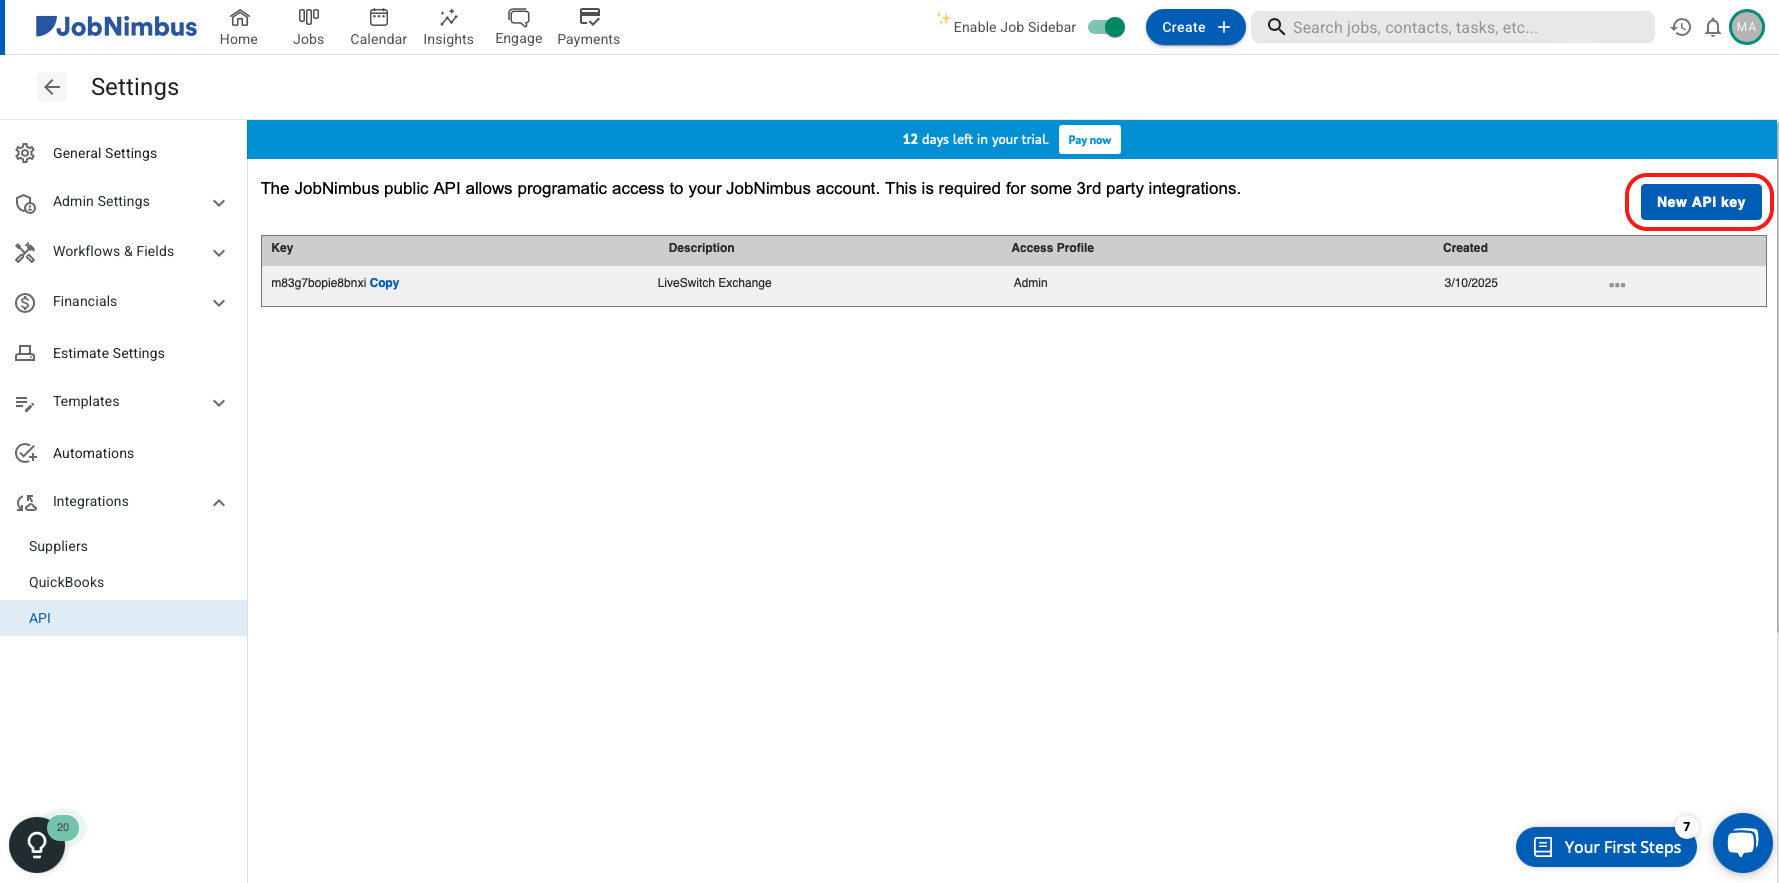
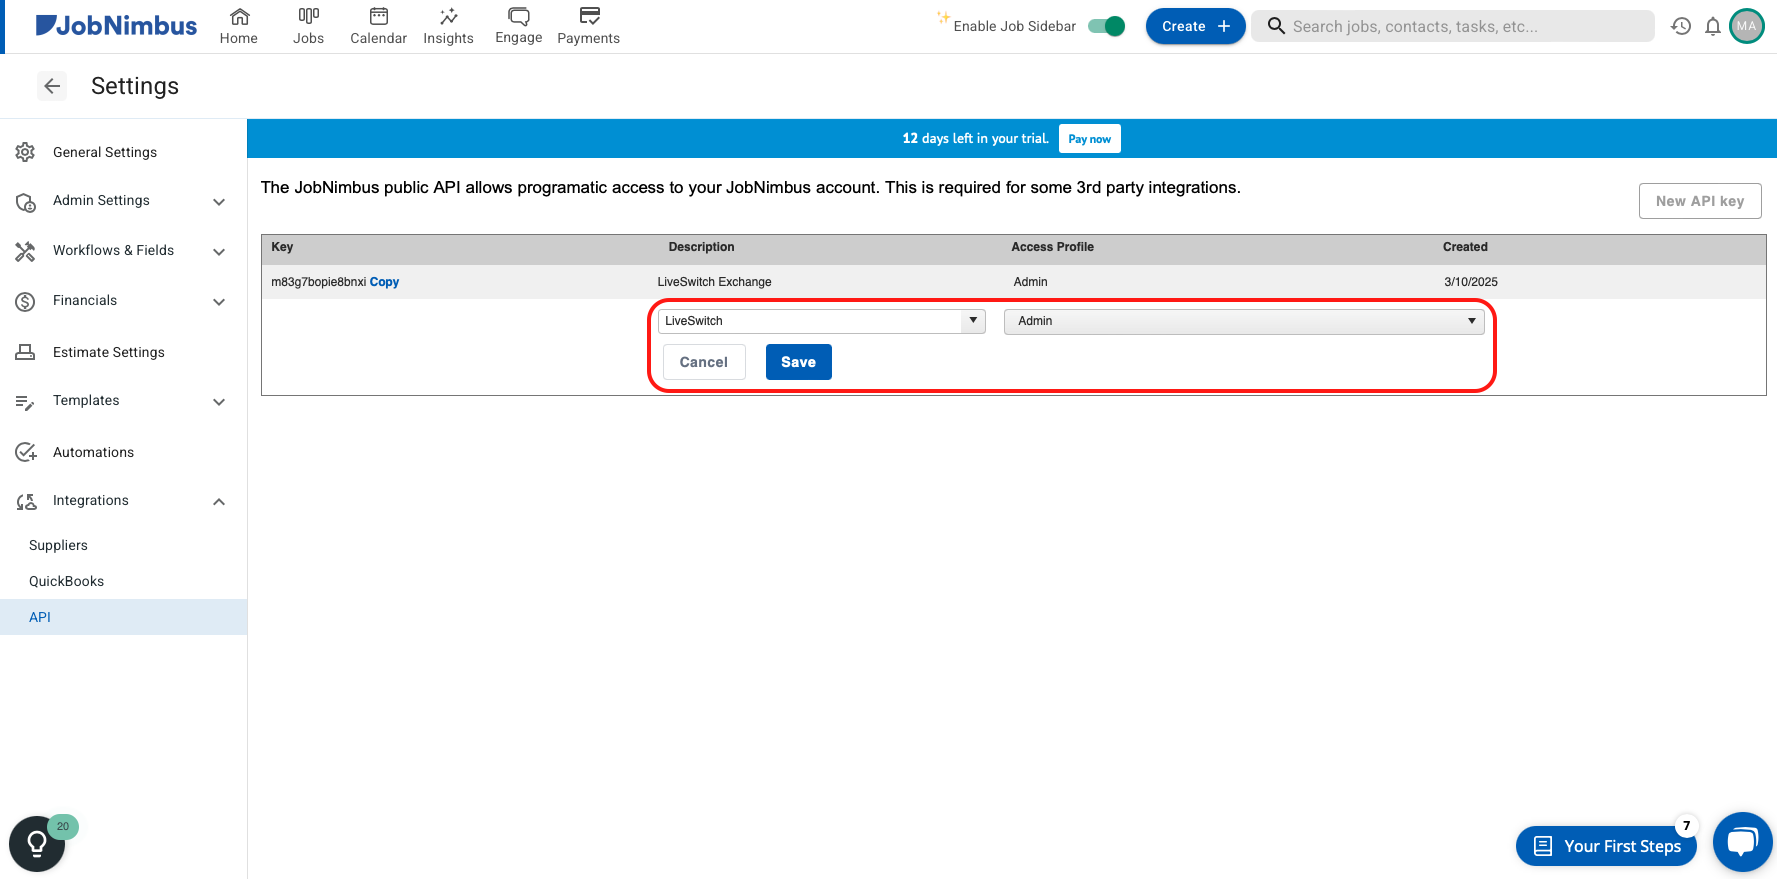
Type "LiveSwitch" in the description input field and change the access profile type to "Admin", then click save.
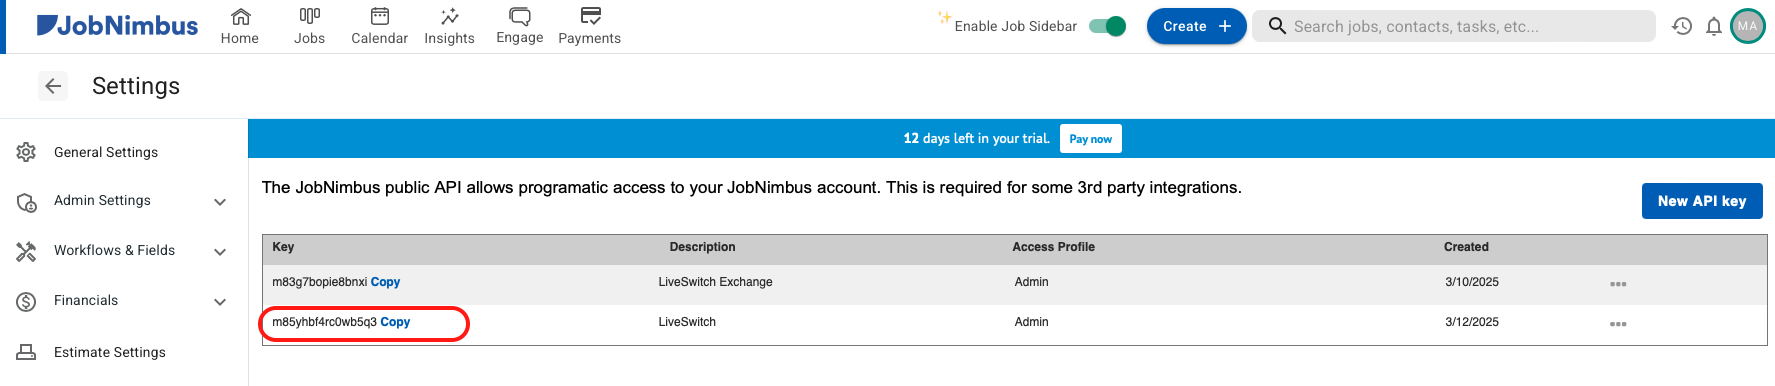
Finally, on the resulting screen, copy the API Key and save it somewhere you can easily access in Step 5 below.
Step 2: Log in to your LiveSwitch account.
If you are not already logged in, go to https://app.contact.liveswitch.com and log in to your LiveSwitch account.
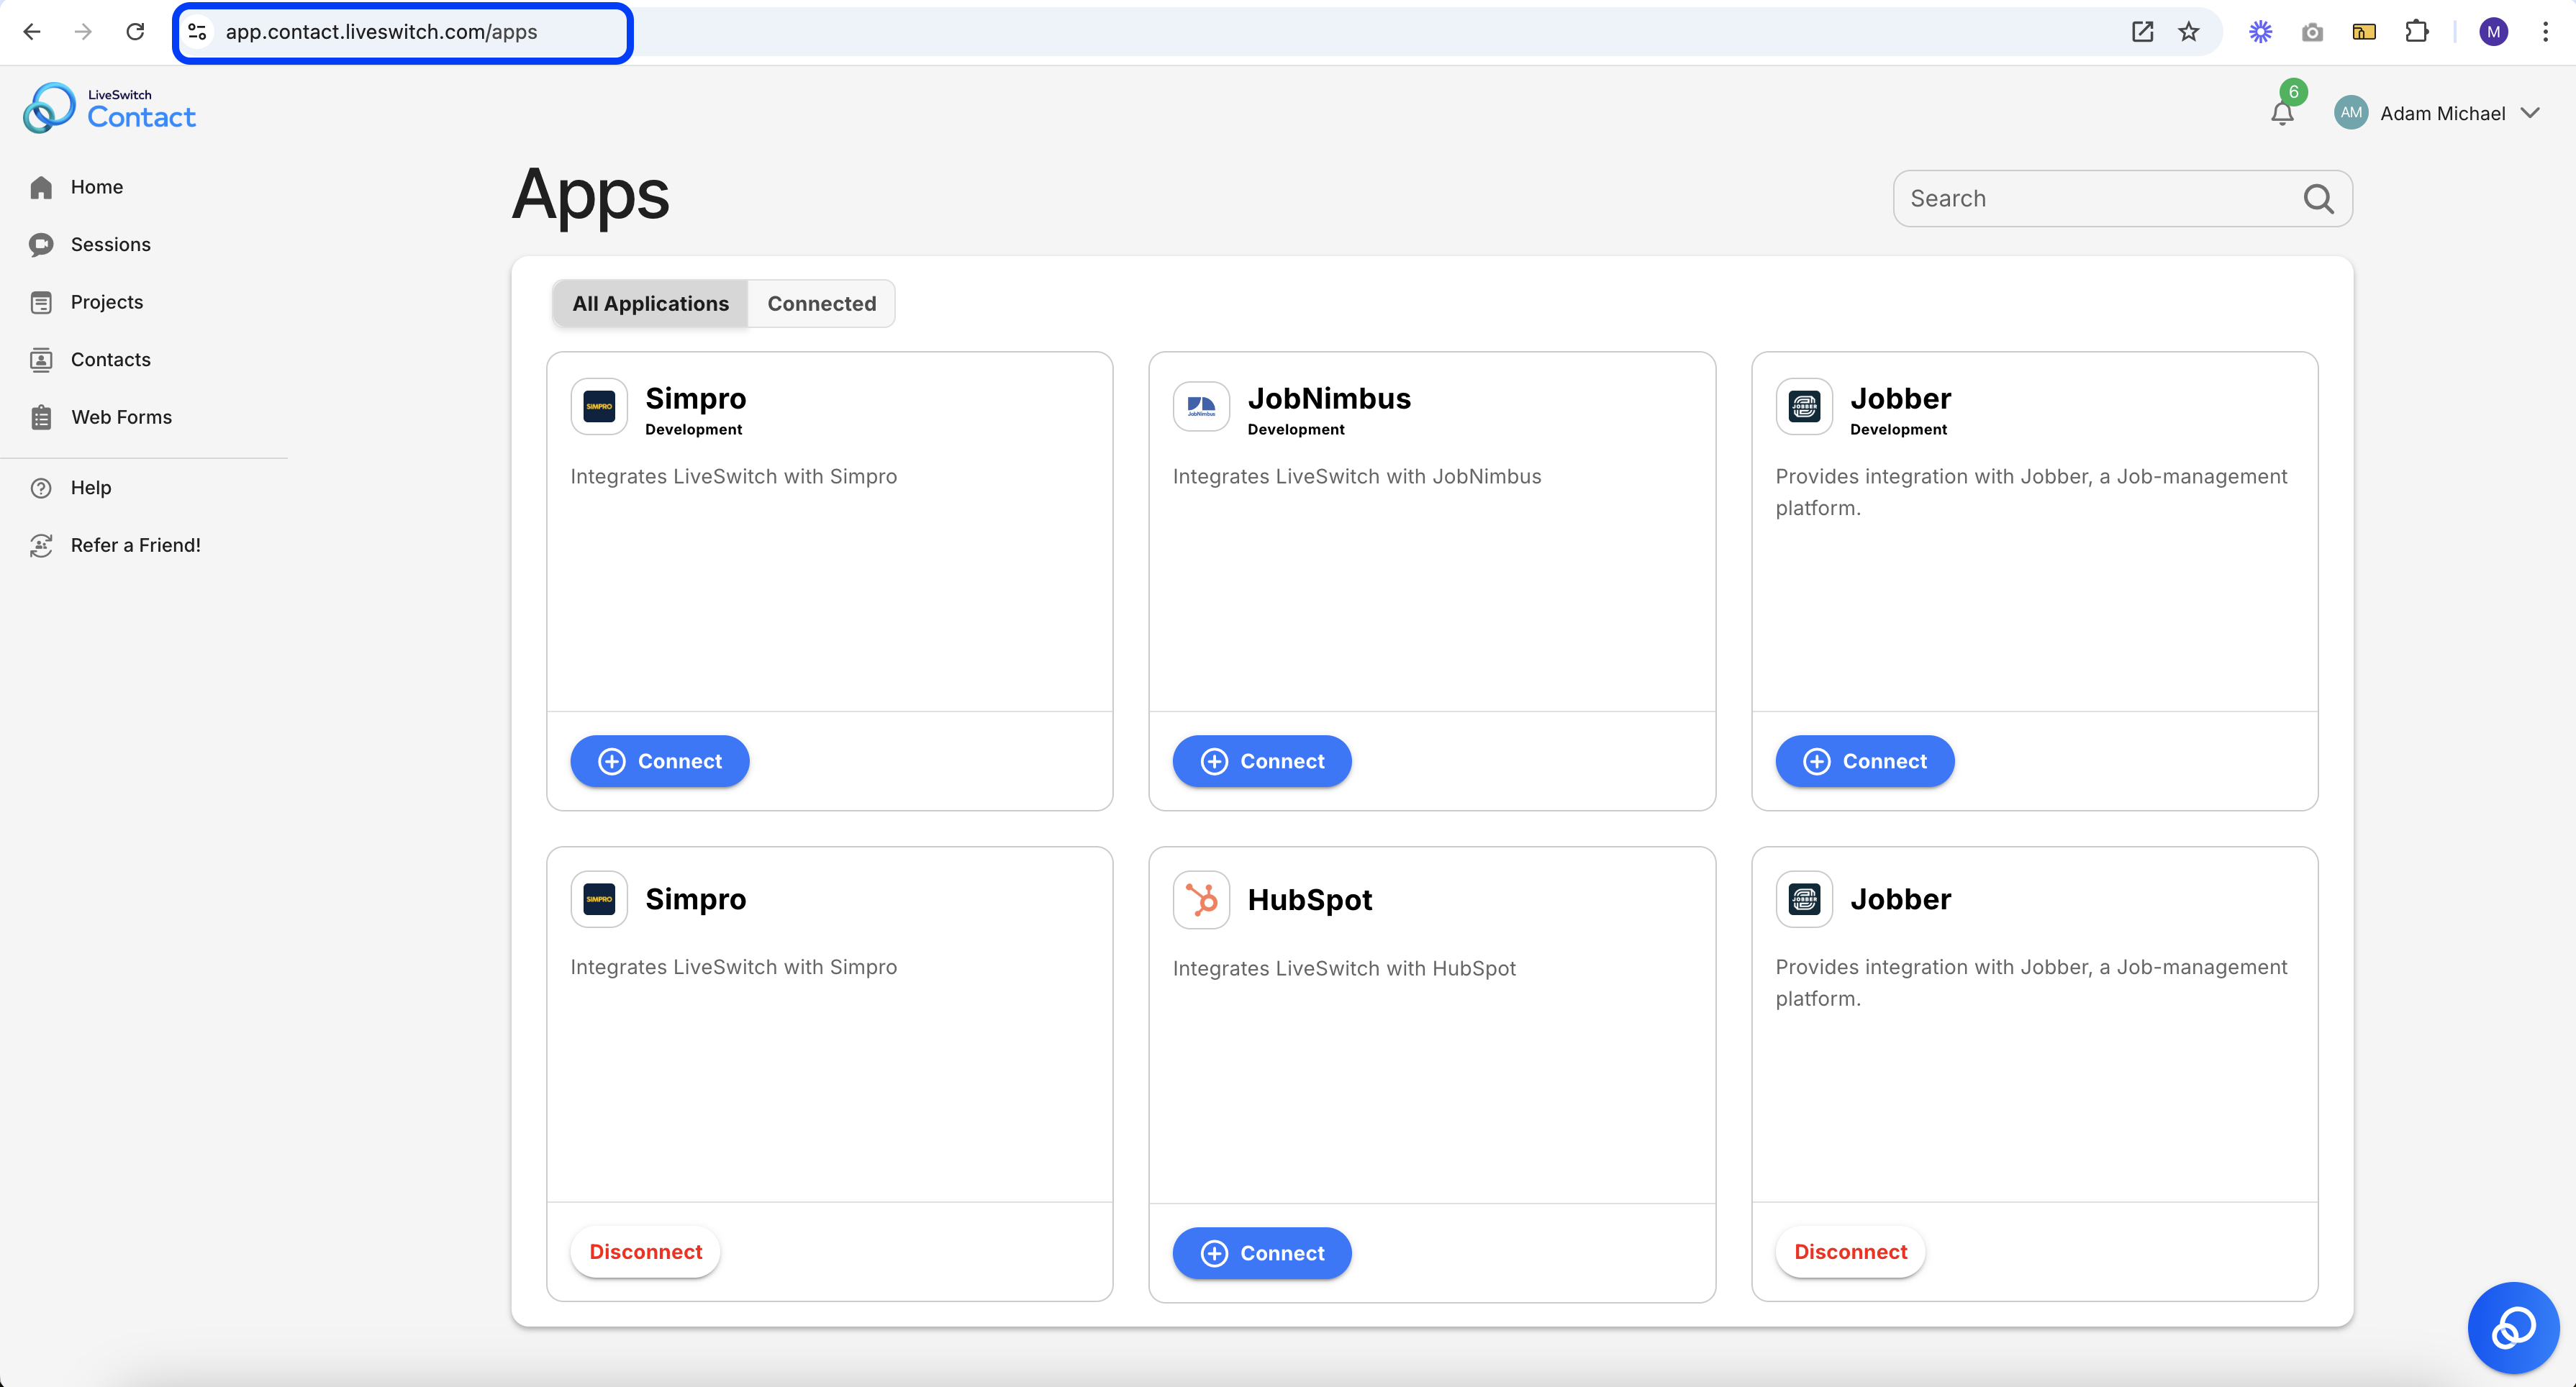
Step 3: Go tohttps://app.contact.liveswitch.com/apps to access the LiveSwitch app marketplace.
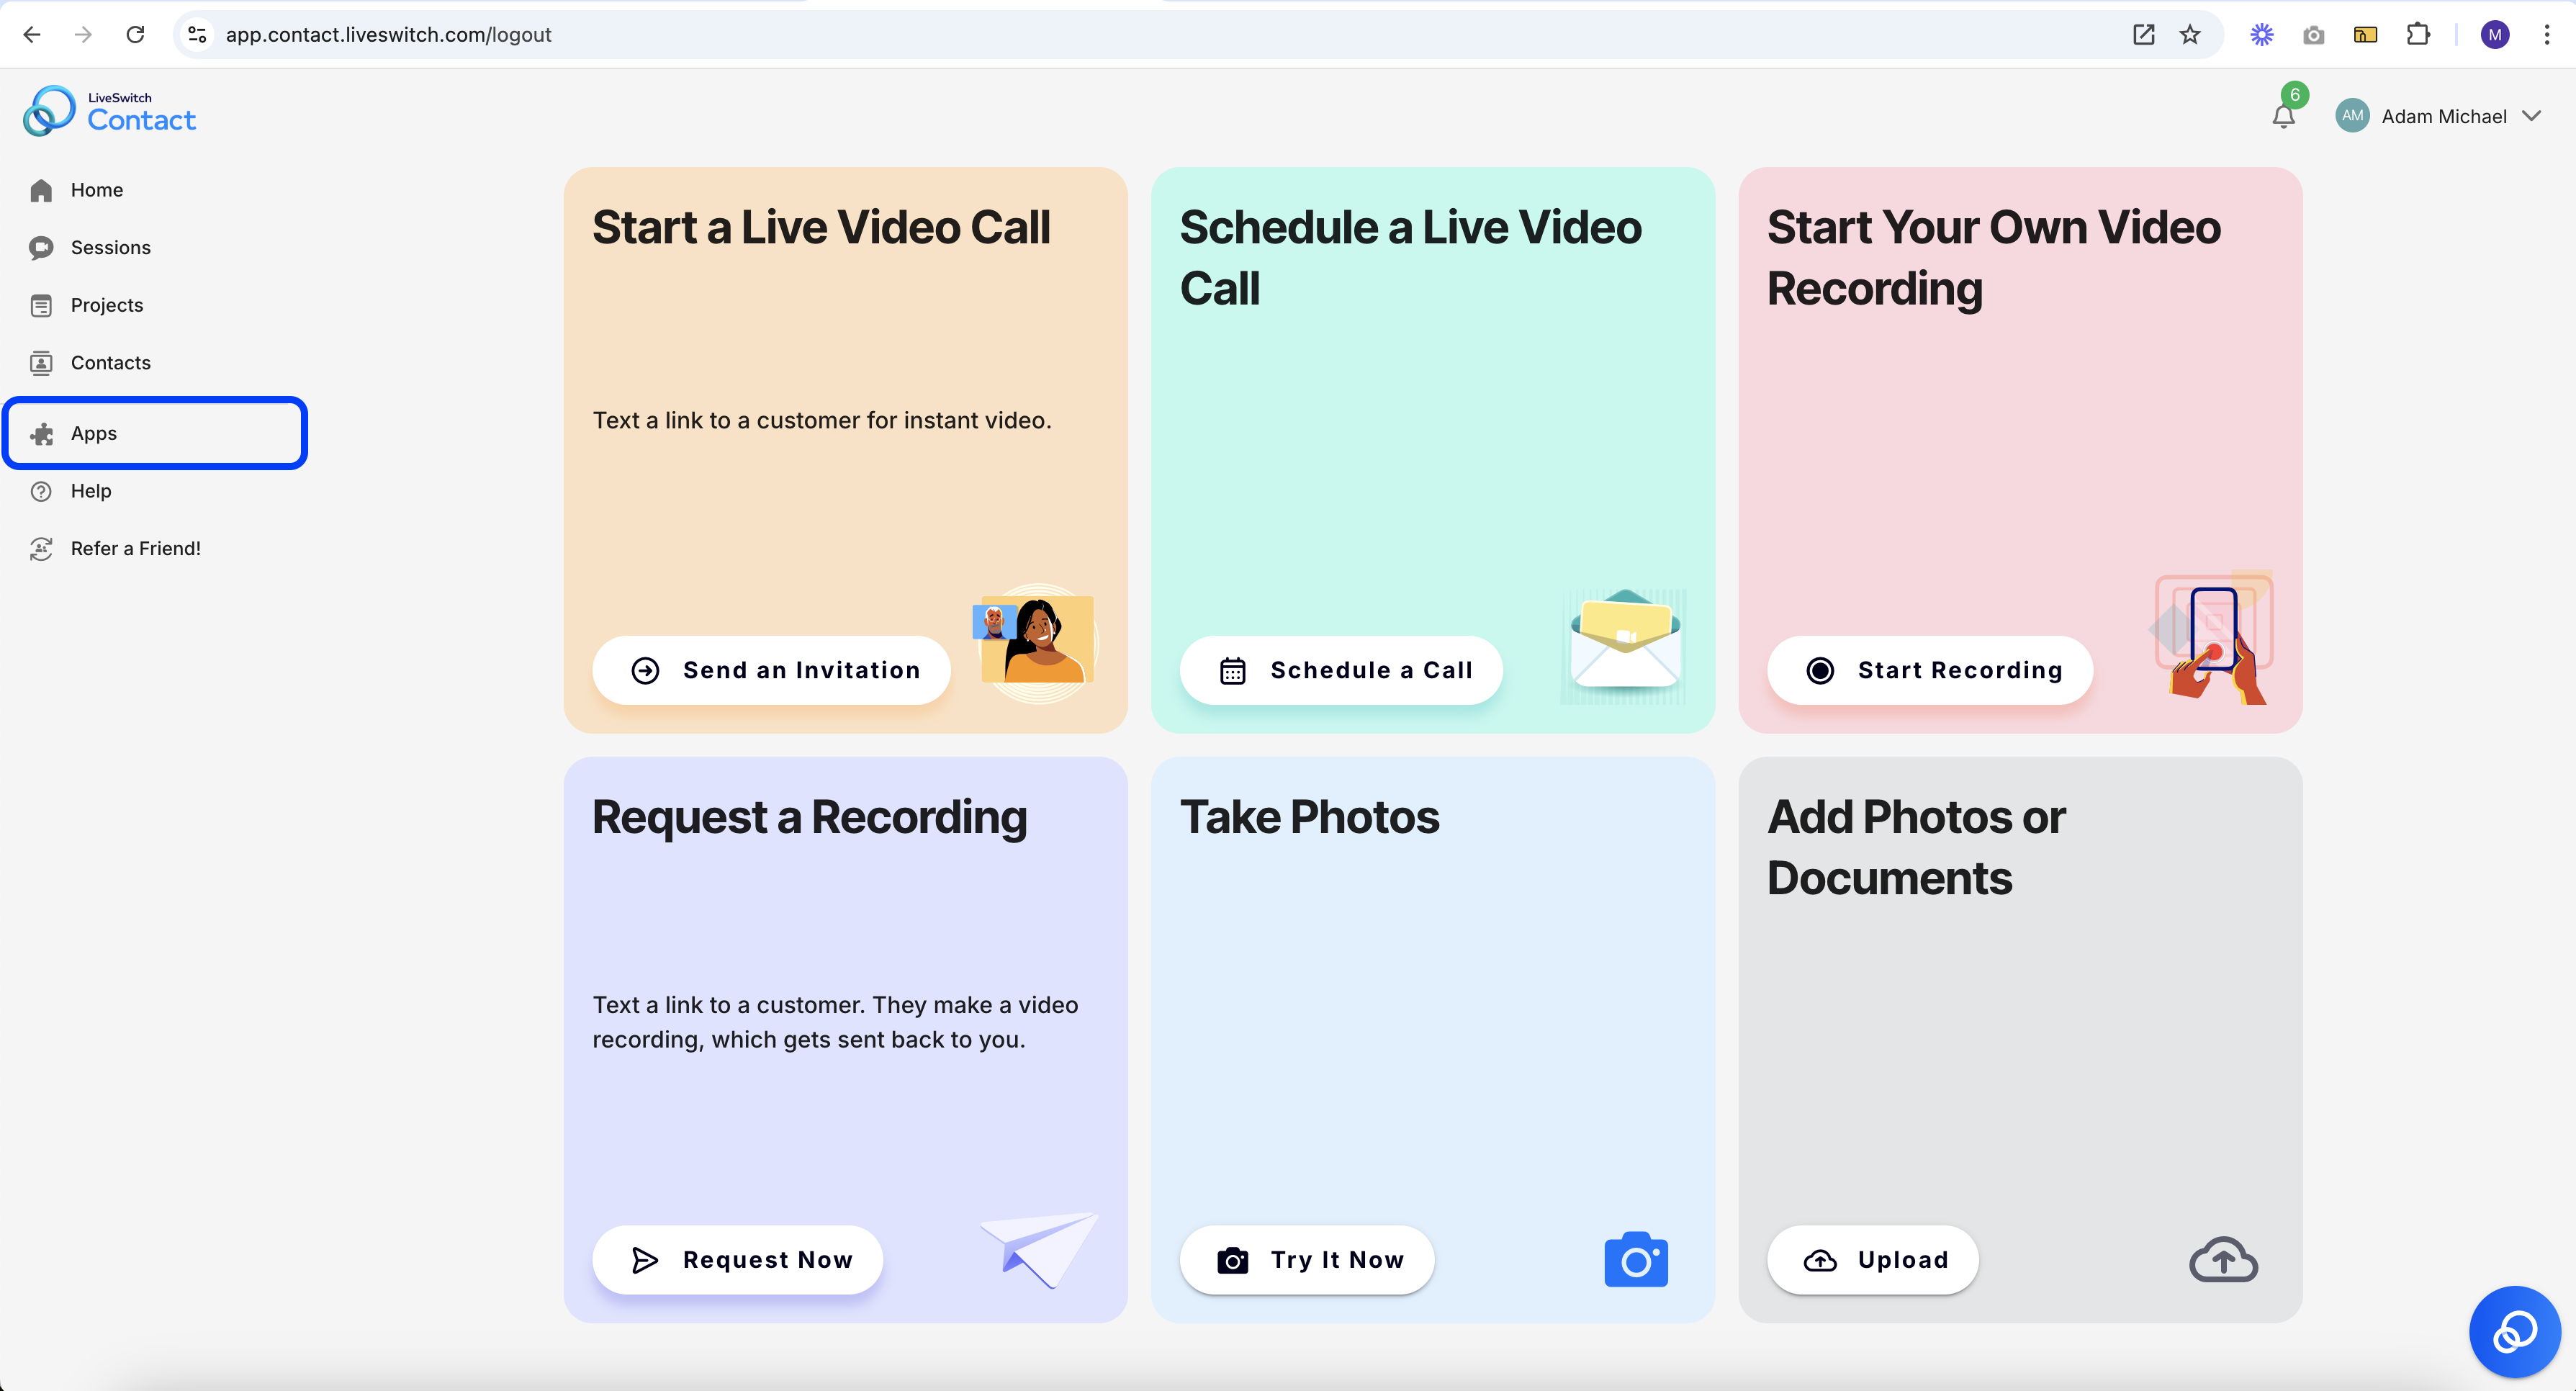
You can access the app marketplace by going directly to that account or selecting the "App" menu item in the left menu bar.
Access via URL:
Access via 'Apps' menu item:
Step 4: Select 'Connect' on the JobNimbus App

Step 5: Authorize LiveSwitch to access JobNimbus
Note: This step may not always be required. If you are not automatically prompted to this screen, please move on to the next step.
When you select the 'Connect' button, a new tab will automatically open that initiates the authentication process.
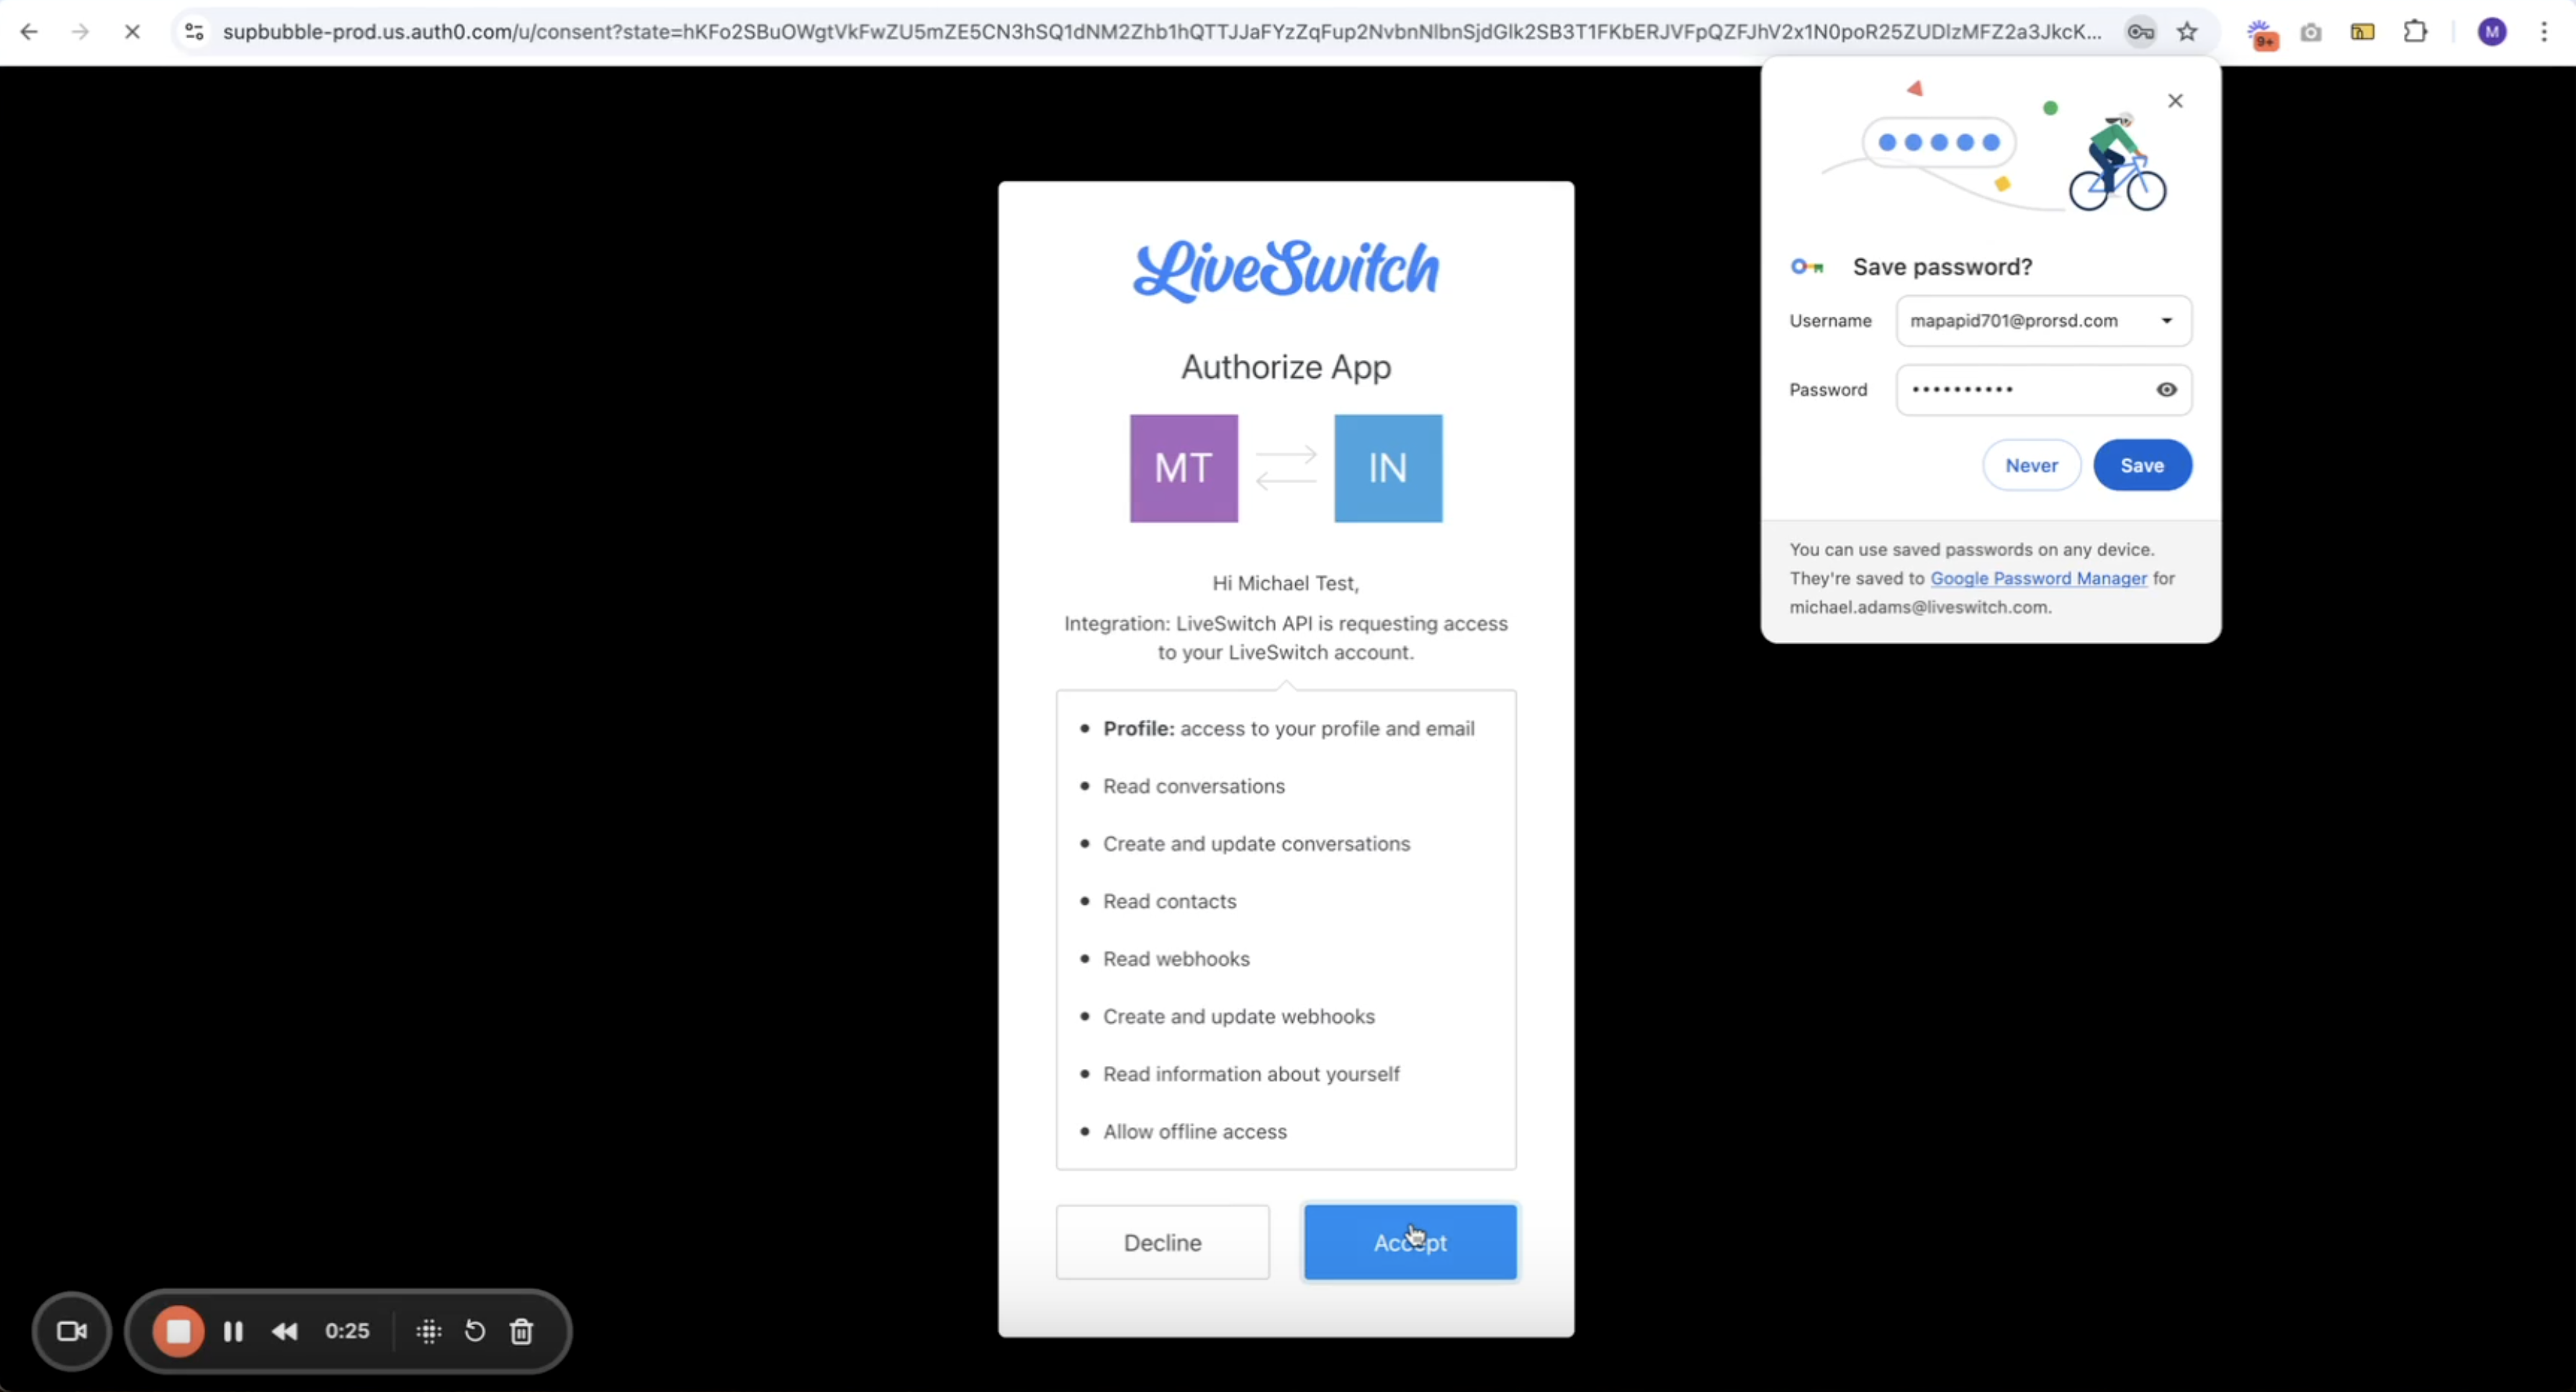
First, we will authenticate your LiveSwitch account with the LiveSwitch API. When the screen below appears, select 'Accept' to continue.
Second, we will begin the authentication process with JobNimbus. This is where we will add the API Key we created in Step 1. The screen should look like the image below.
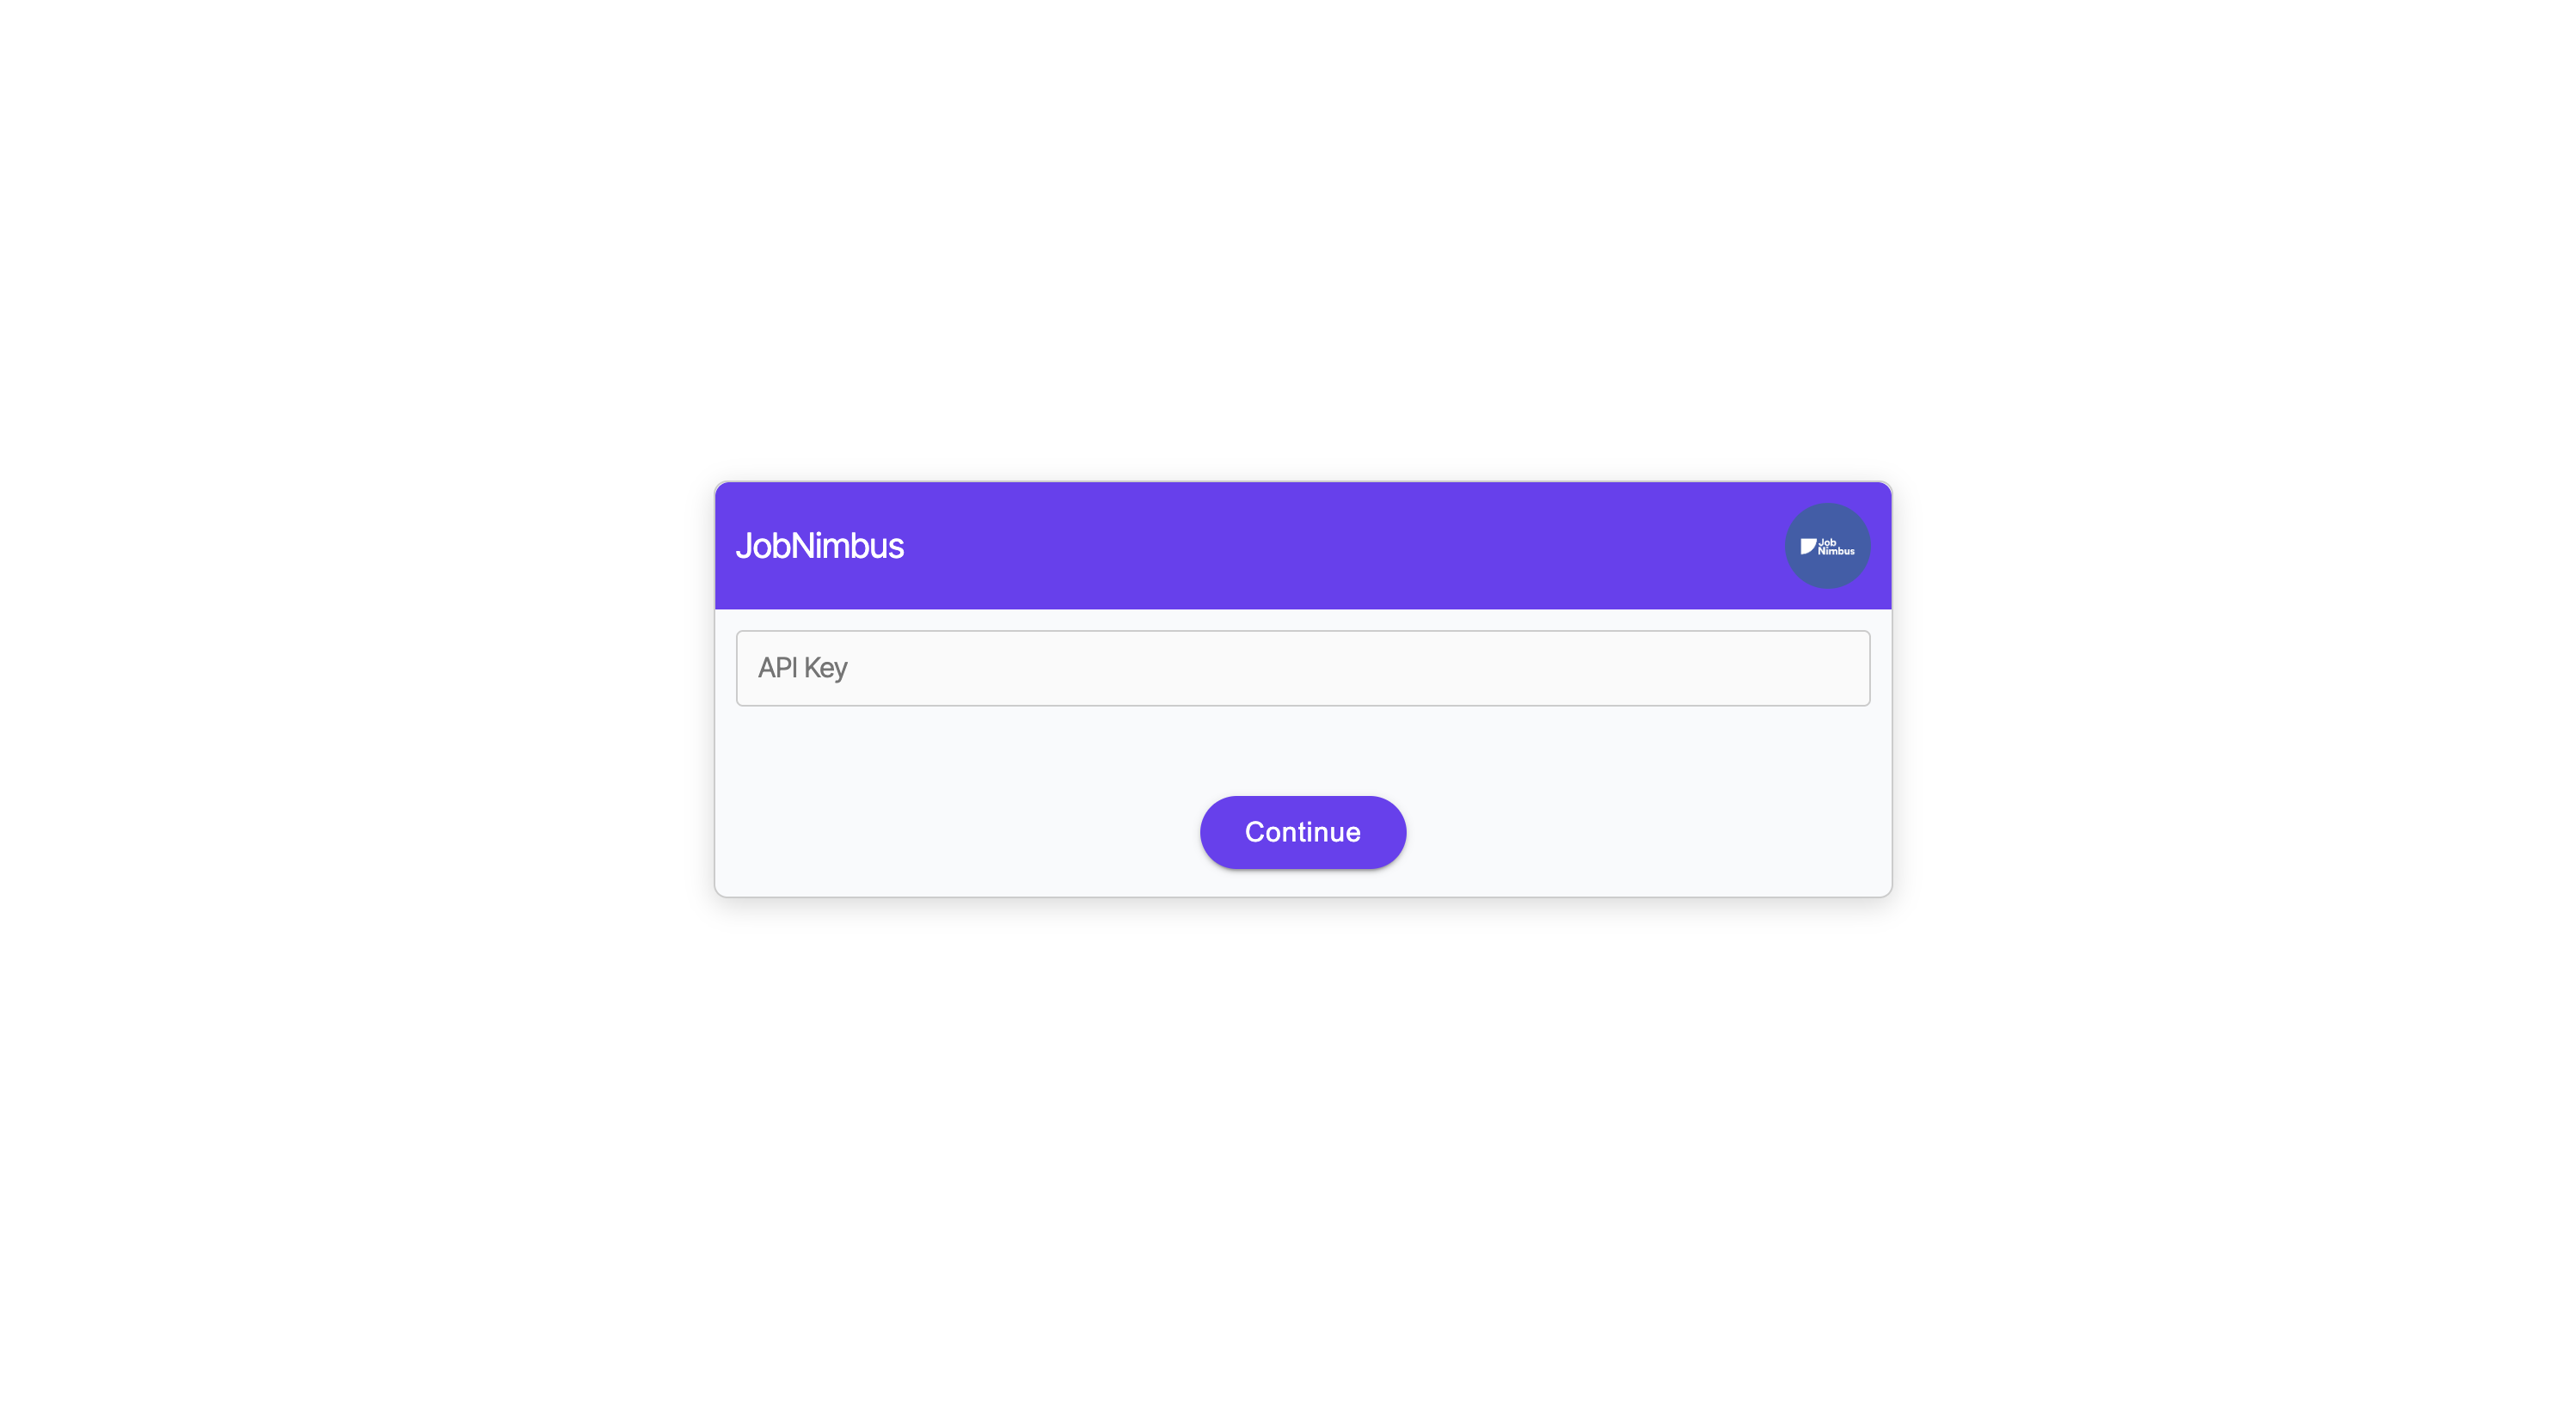
Once you have entered your API Key, hit "Submit" and we will automatically finish the authentication process.
If you run into any issues, please contact [email protected]
Updated 5 months ago