Jobber
By LiveSwitch
Description
The LiveSwitch integration with Jobber allows LiveSwitch customers who use Jobber's field service management software to:
- Access media uploaded to LiveSwitch in Jobber
- Sync Jobber and LiveSwitch contacts back and forth
- Start live video calls, take photos, and start and request recordings
Install the Jobber Integration
Need help? Contact [[email protected]] — we're here to assist you.
Features & Functionality
Create and link LiveSwitch projects with new and updated Jobber jobs
When a new job is created in Jobber, the integration automatically creates a matching project in LiveSwitch.
The Jobber job record then includes a LiveSwitch Project link so your team can get straight to uploading photos, recordings or documents tied to that specific job.
Start live video calls, take photos and start or request recordings directly from the Jobber jobs or clients
On every Jobber job, you’ll see:
Start a Live Call
Request Recording
Take Photos
Start a LiveSwitch Recording
Clicking Start a Live Call and Request Recording launches a LiveSwitch session with the client’s phone number pre-set, keeping everything tied to that project, instantly messaging the recipient to join the Live Call or to complete the Request Recording task.
Sync project media files back into Jobber as clickable links in client and job notes
Any content you add to the LiveSwitch project automatically shows up as notes on the linked Jobber job record. Click to view or download files without having to hunt for them.
Flip the Switch: Enhance Jobber Integration Features and Functions with the LiveSwitch Launcher Chrome extension to access interactive media directly in the Jobber job and client record. [Install the Chrome extension]
Link job notes to related invoices
All job notes created by the integration are also added to the notes of any connected invoices, allowing your team to verify details during billing.
Access LiveSwitch session links in client internal notes
For every LiveSwitch session created with a client’s phone number, the integration adds the session link to the client’s internal notes in Jobber.
Sync clients into LiveSwitch
Save time by linking your Jobber client records with LiveSwitch, so you can manage contacts, start a live call and request a recording without re-entering client details.
Installation
Step 1: Log in to your LiveSwitch account.
If you are not already logged in, go to https://app.contact.liveswitch.com and log in to your LiveSwitch account.
Step 2: Go to https://app.contact.liveswitch.com/apps to access the LiveSwitch app marketplace.
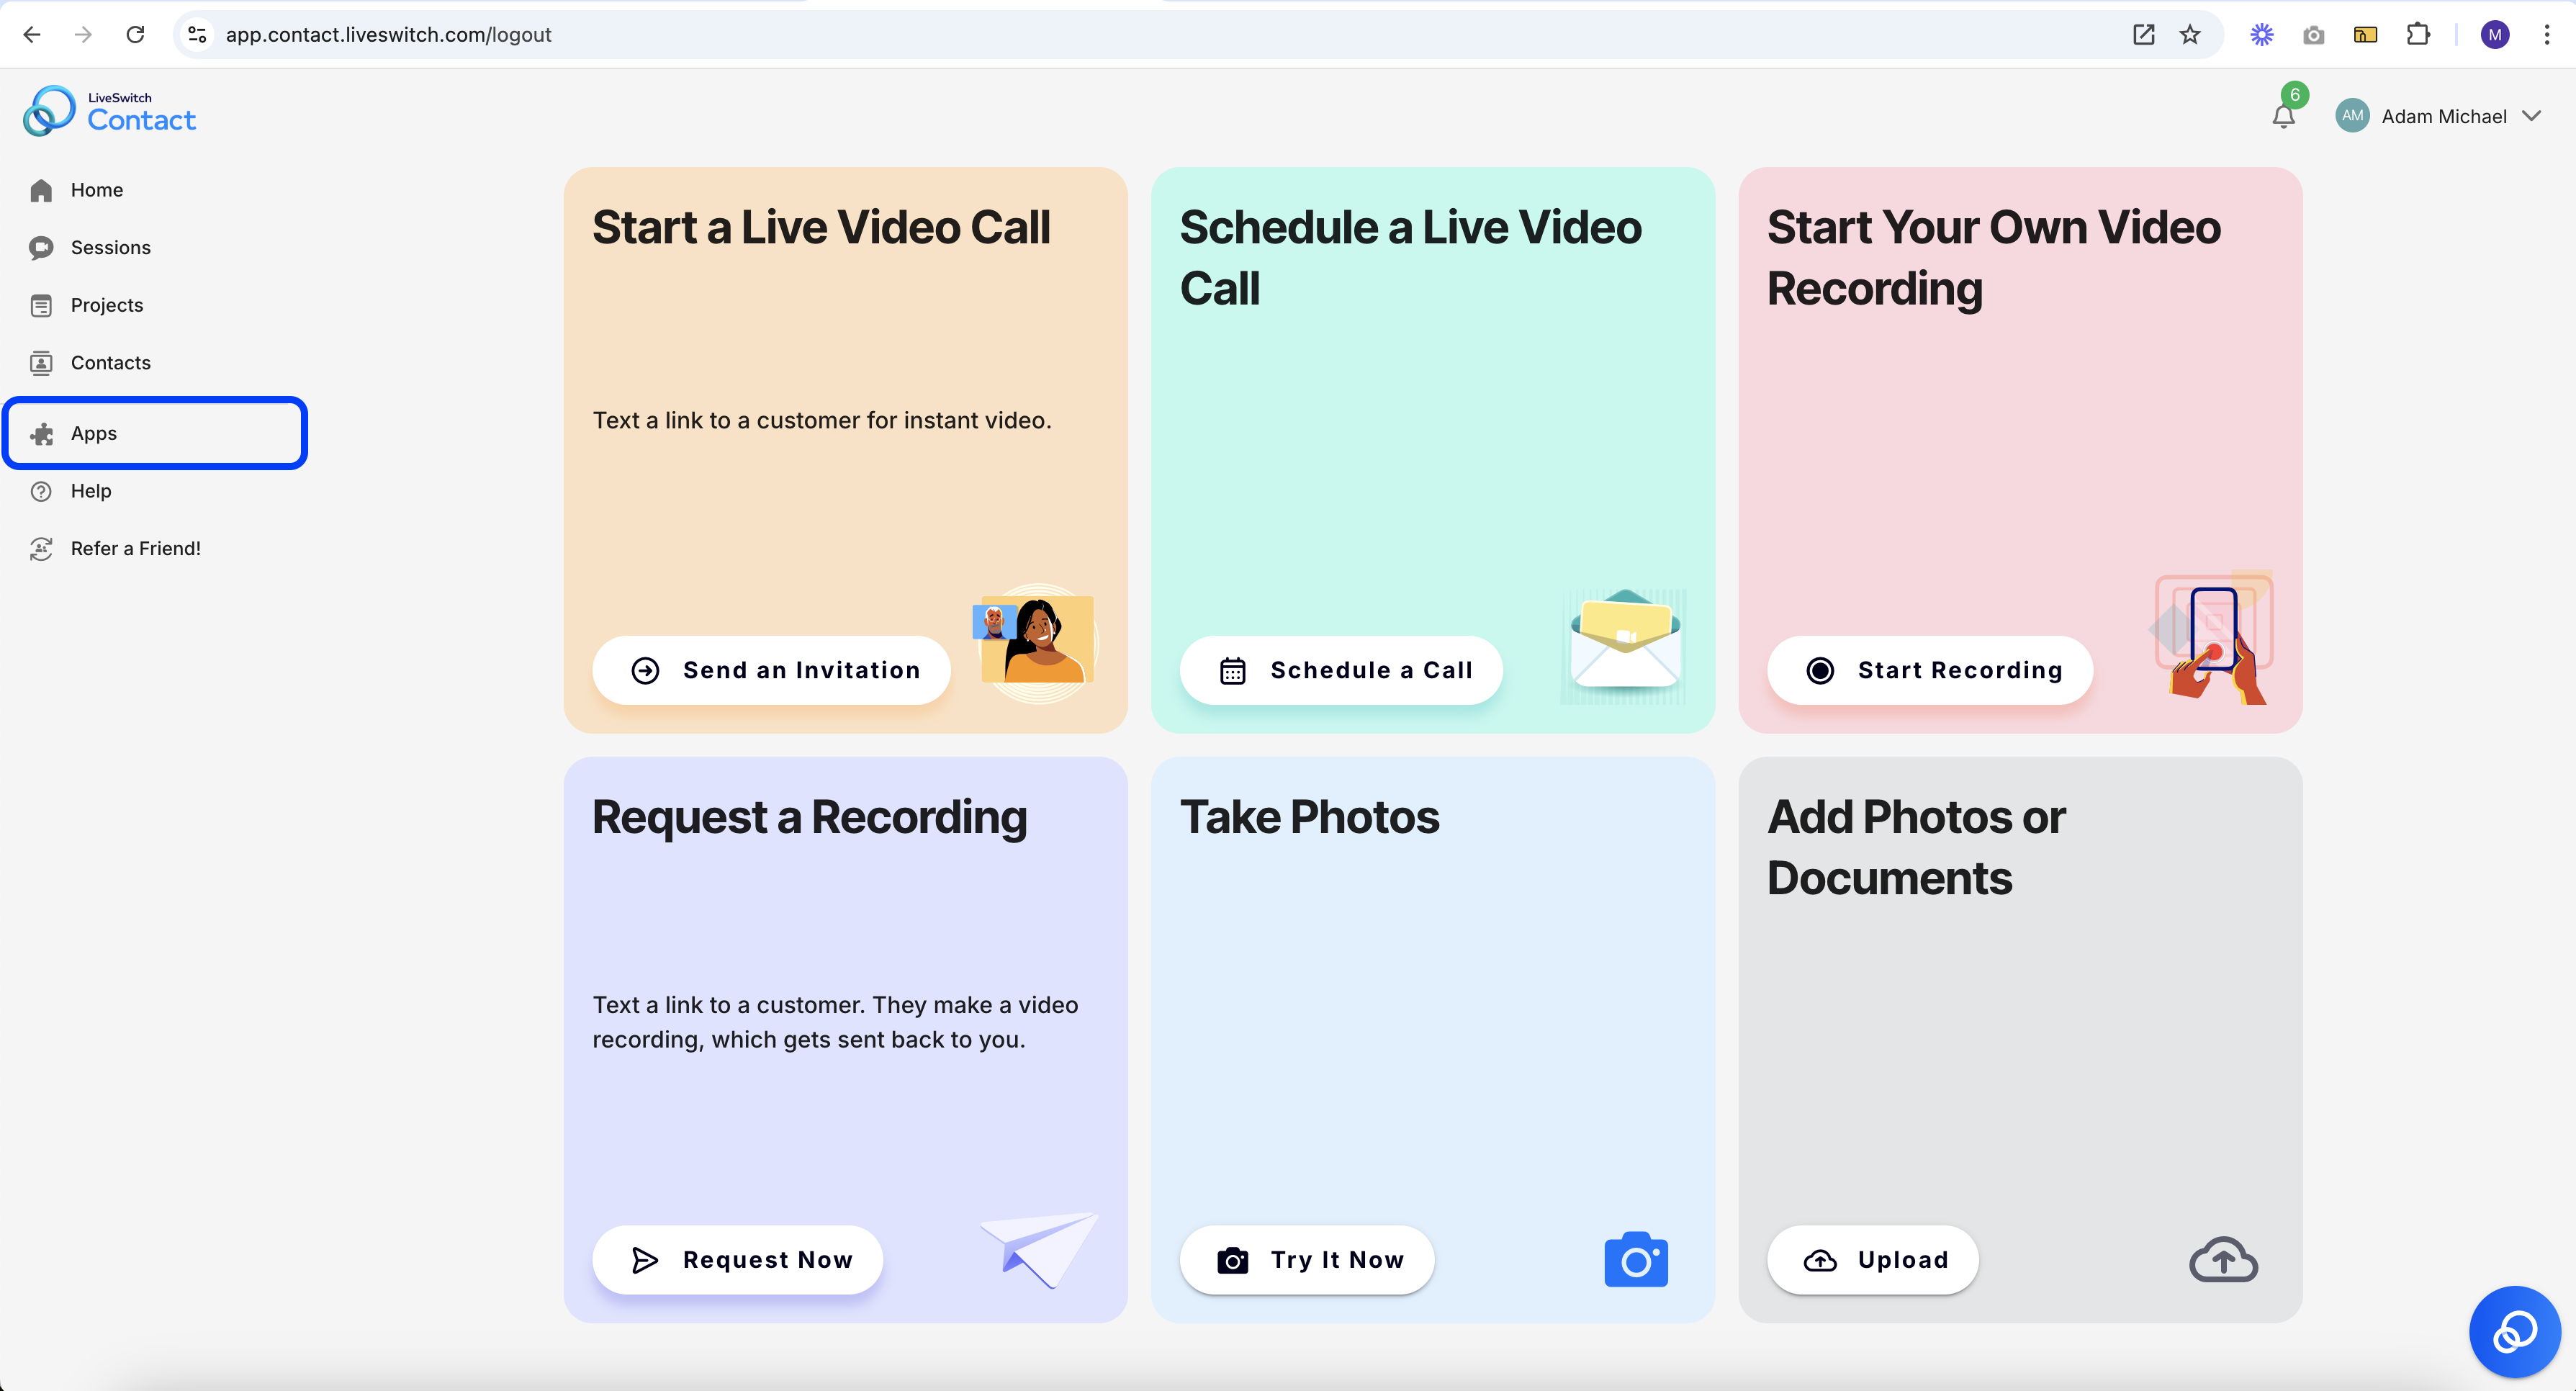
You can access the app marketplace by going directly to that page via the URL or selecting the "App" menu item in the left menu bar.
Access via URL:
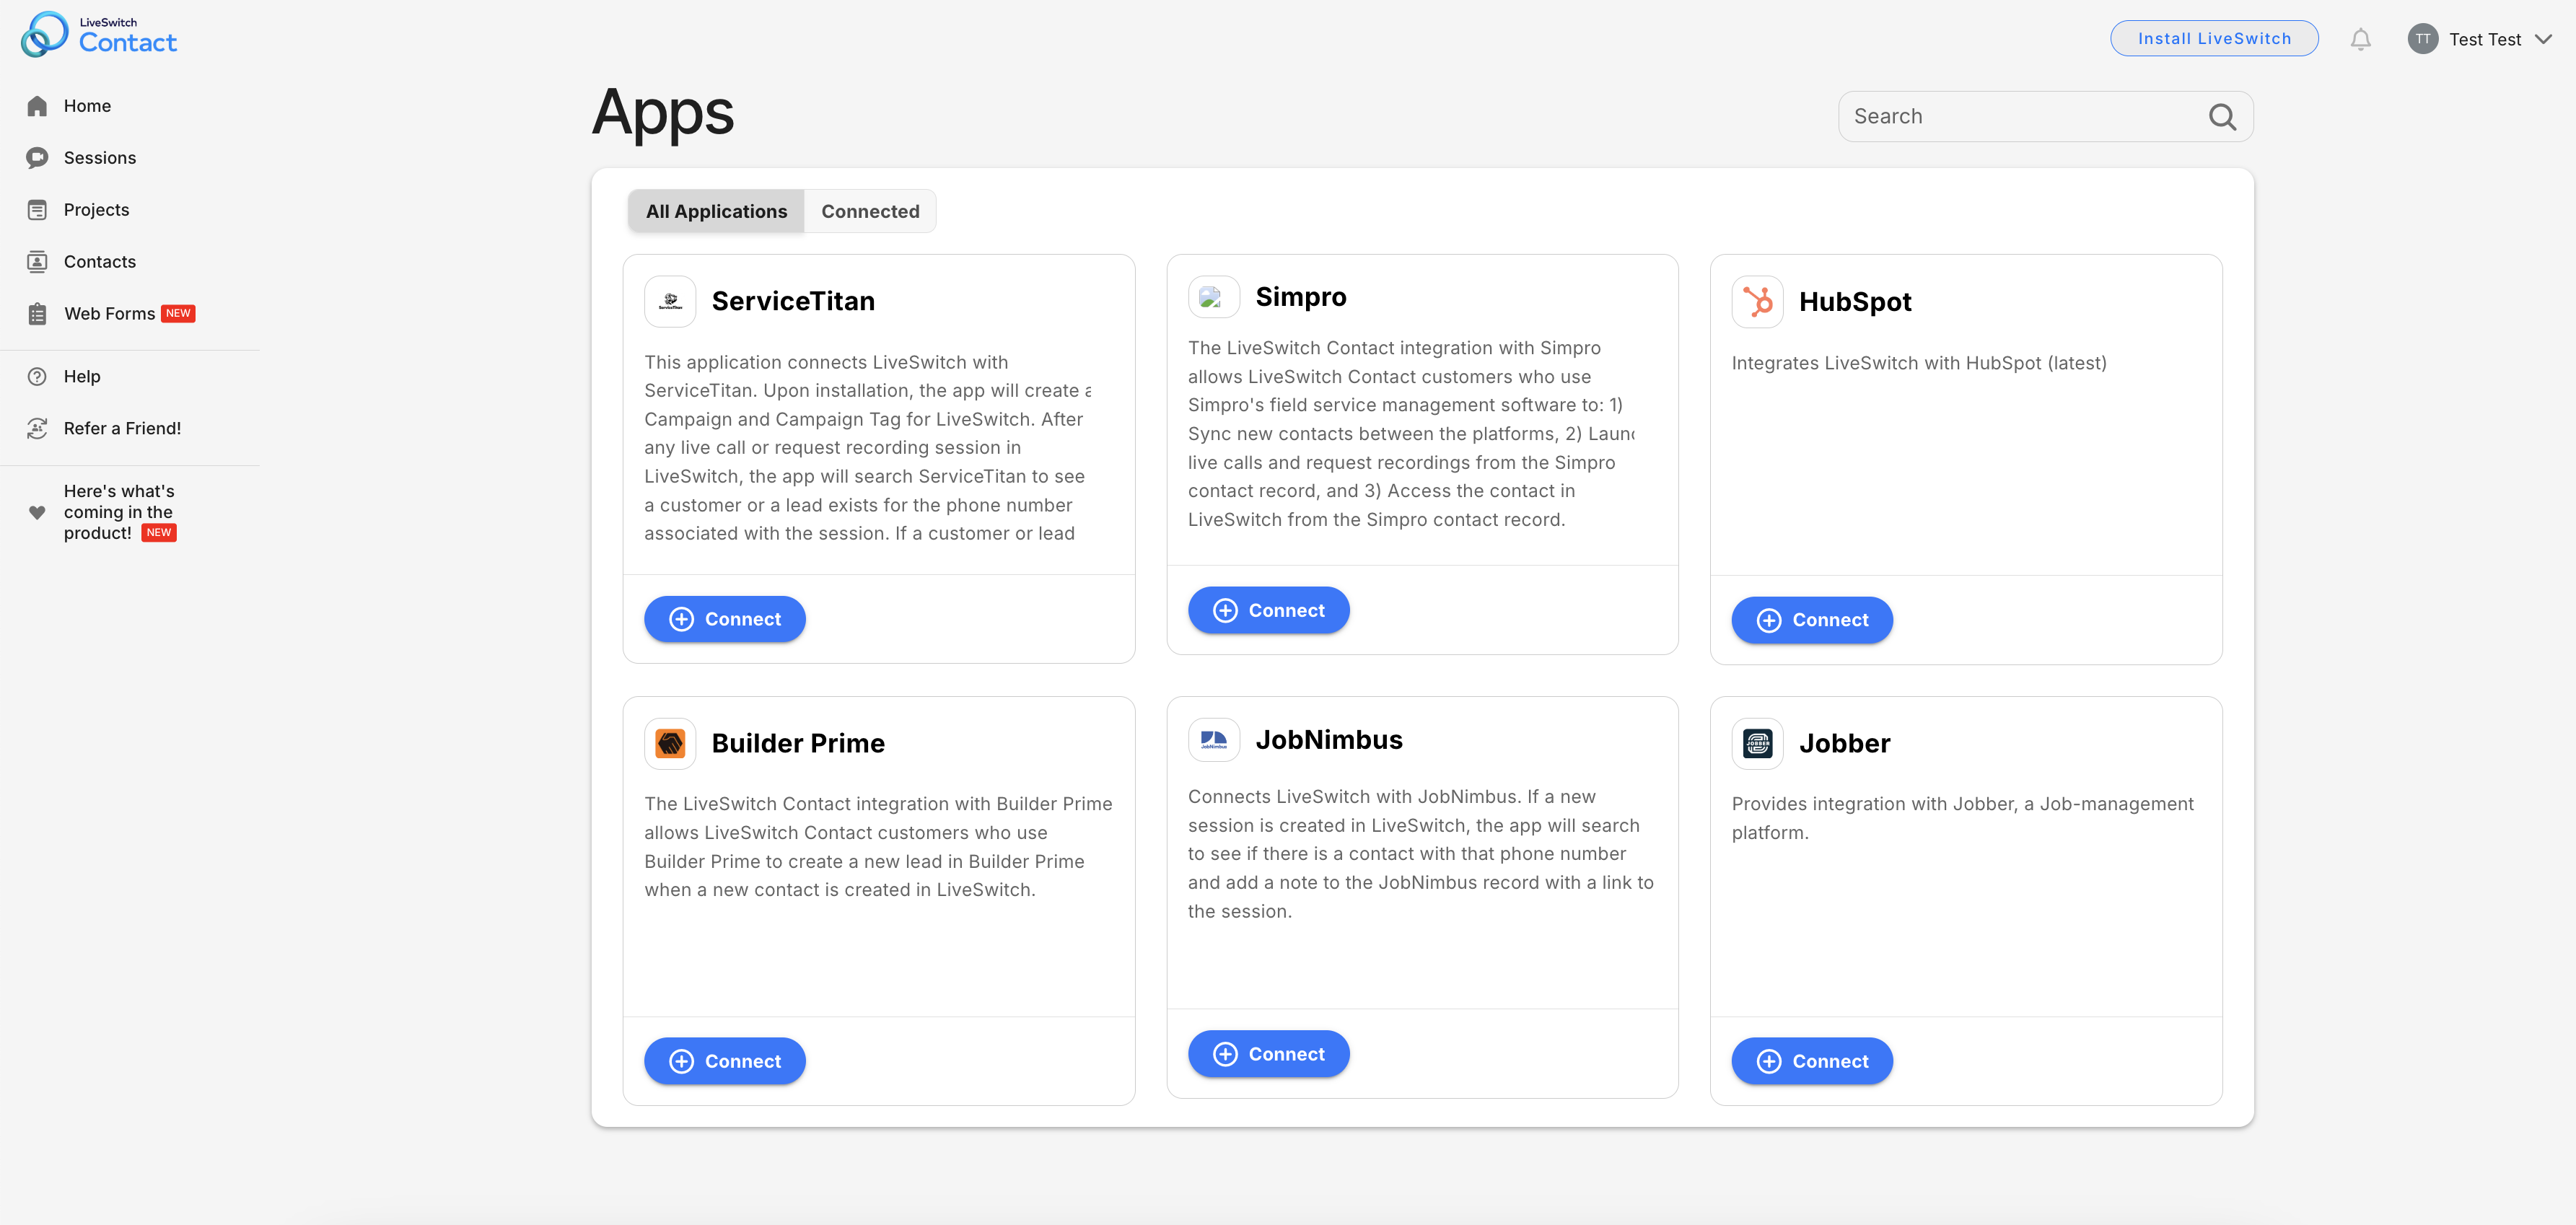
Access via 'Apps' menu item:
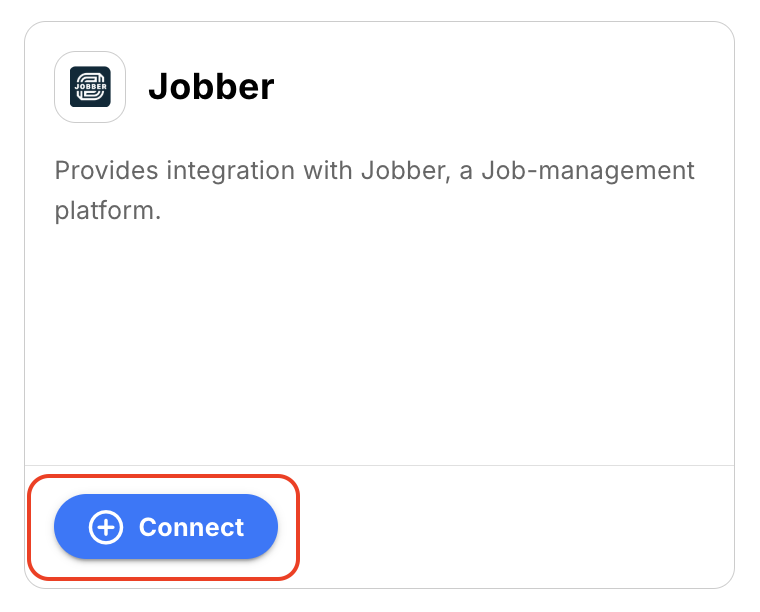
Step 3: Select 'Connect' on the Jobber App
Step 4: Authorize LiveSwitch to access Jobber
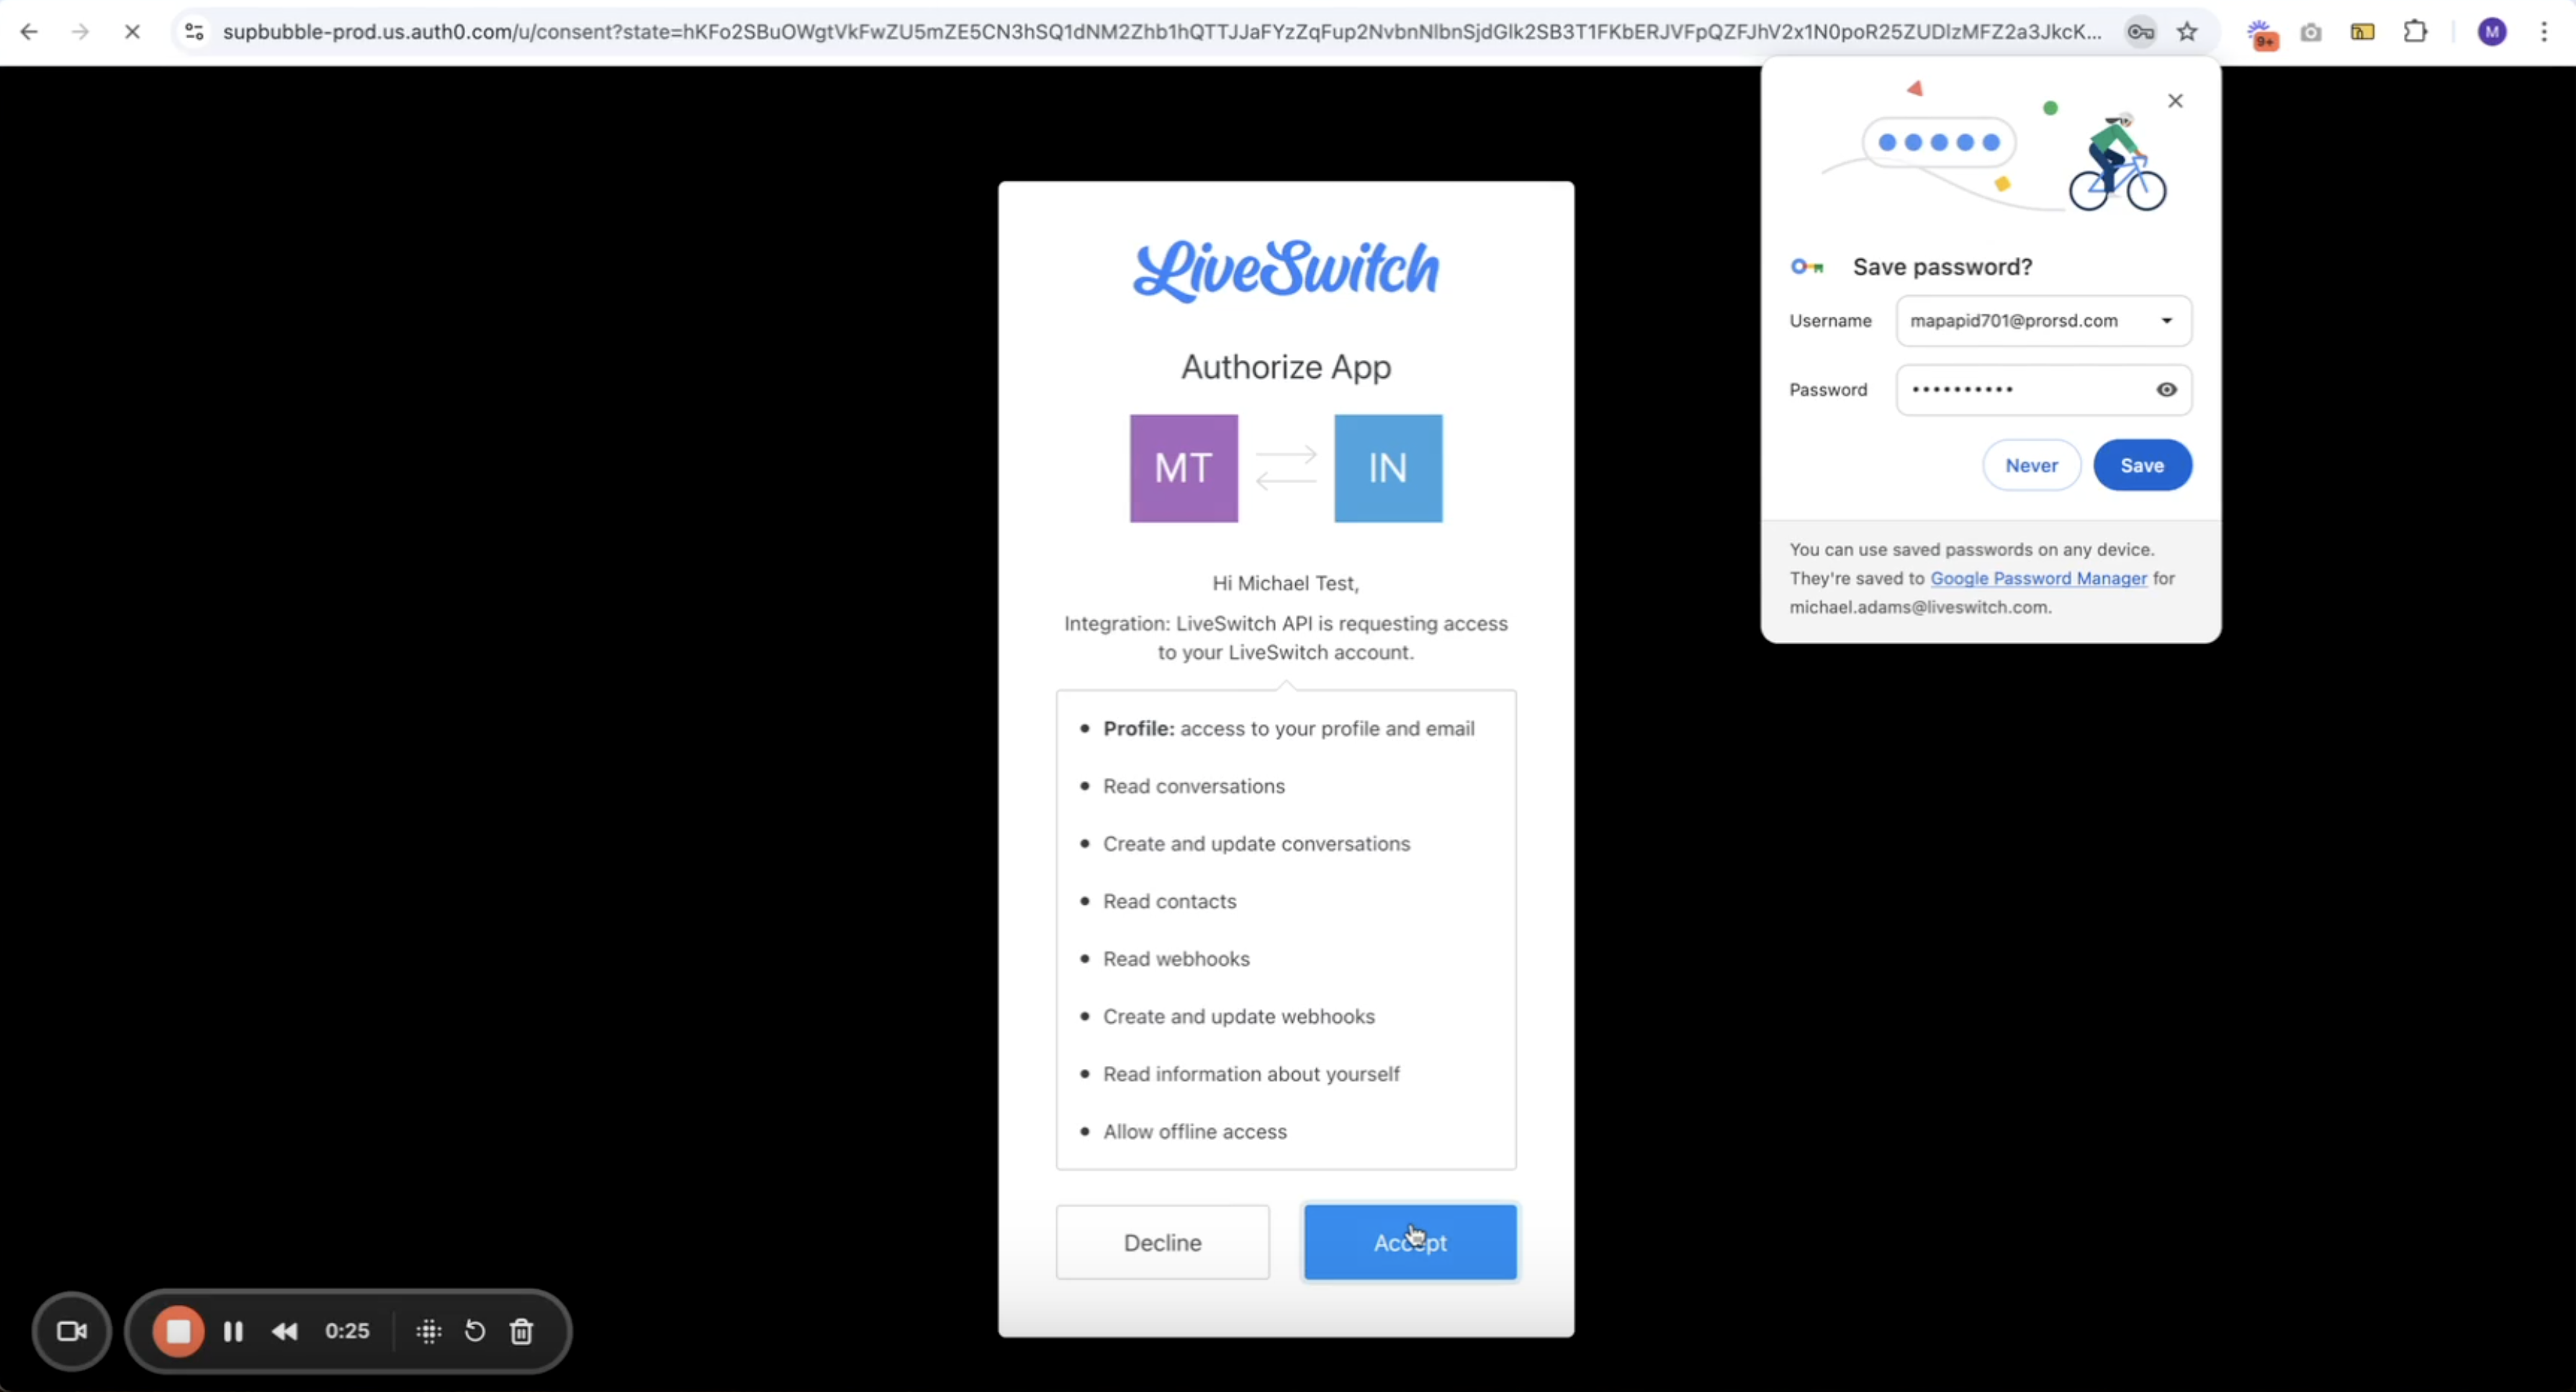
When you select the 'Connect' button, a new tab will automatically open that initiates the authentication process.
First, we will authenticate your LiveSwitch account with the LiveSwitch API. When the screen below appears, select 'Accept' to continue. This step will not always be necessary.
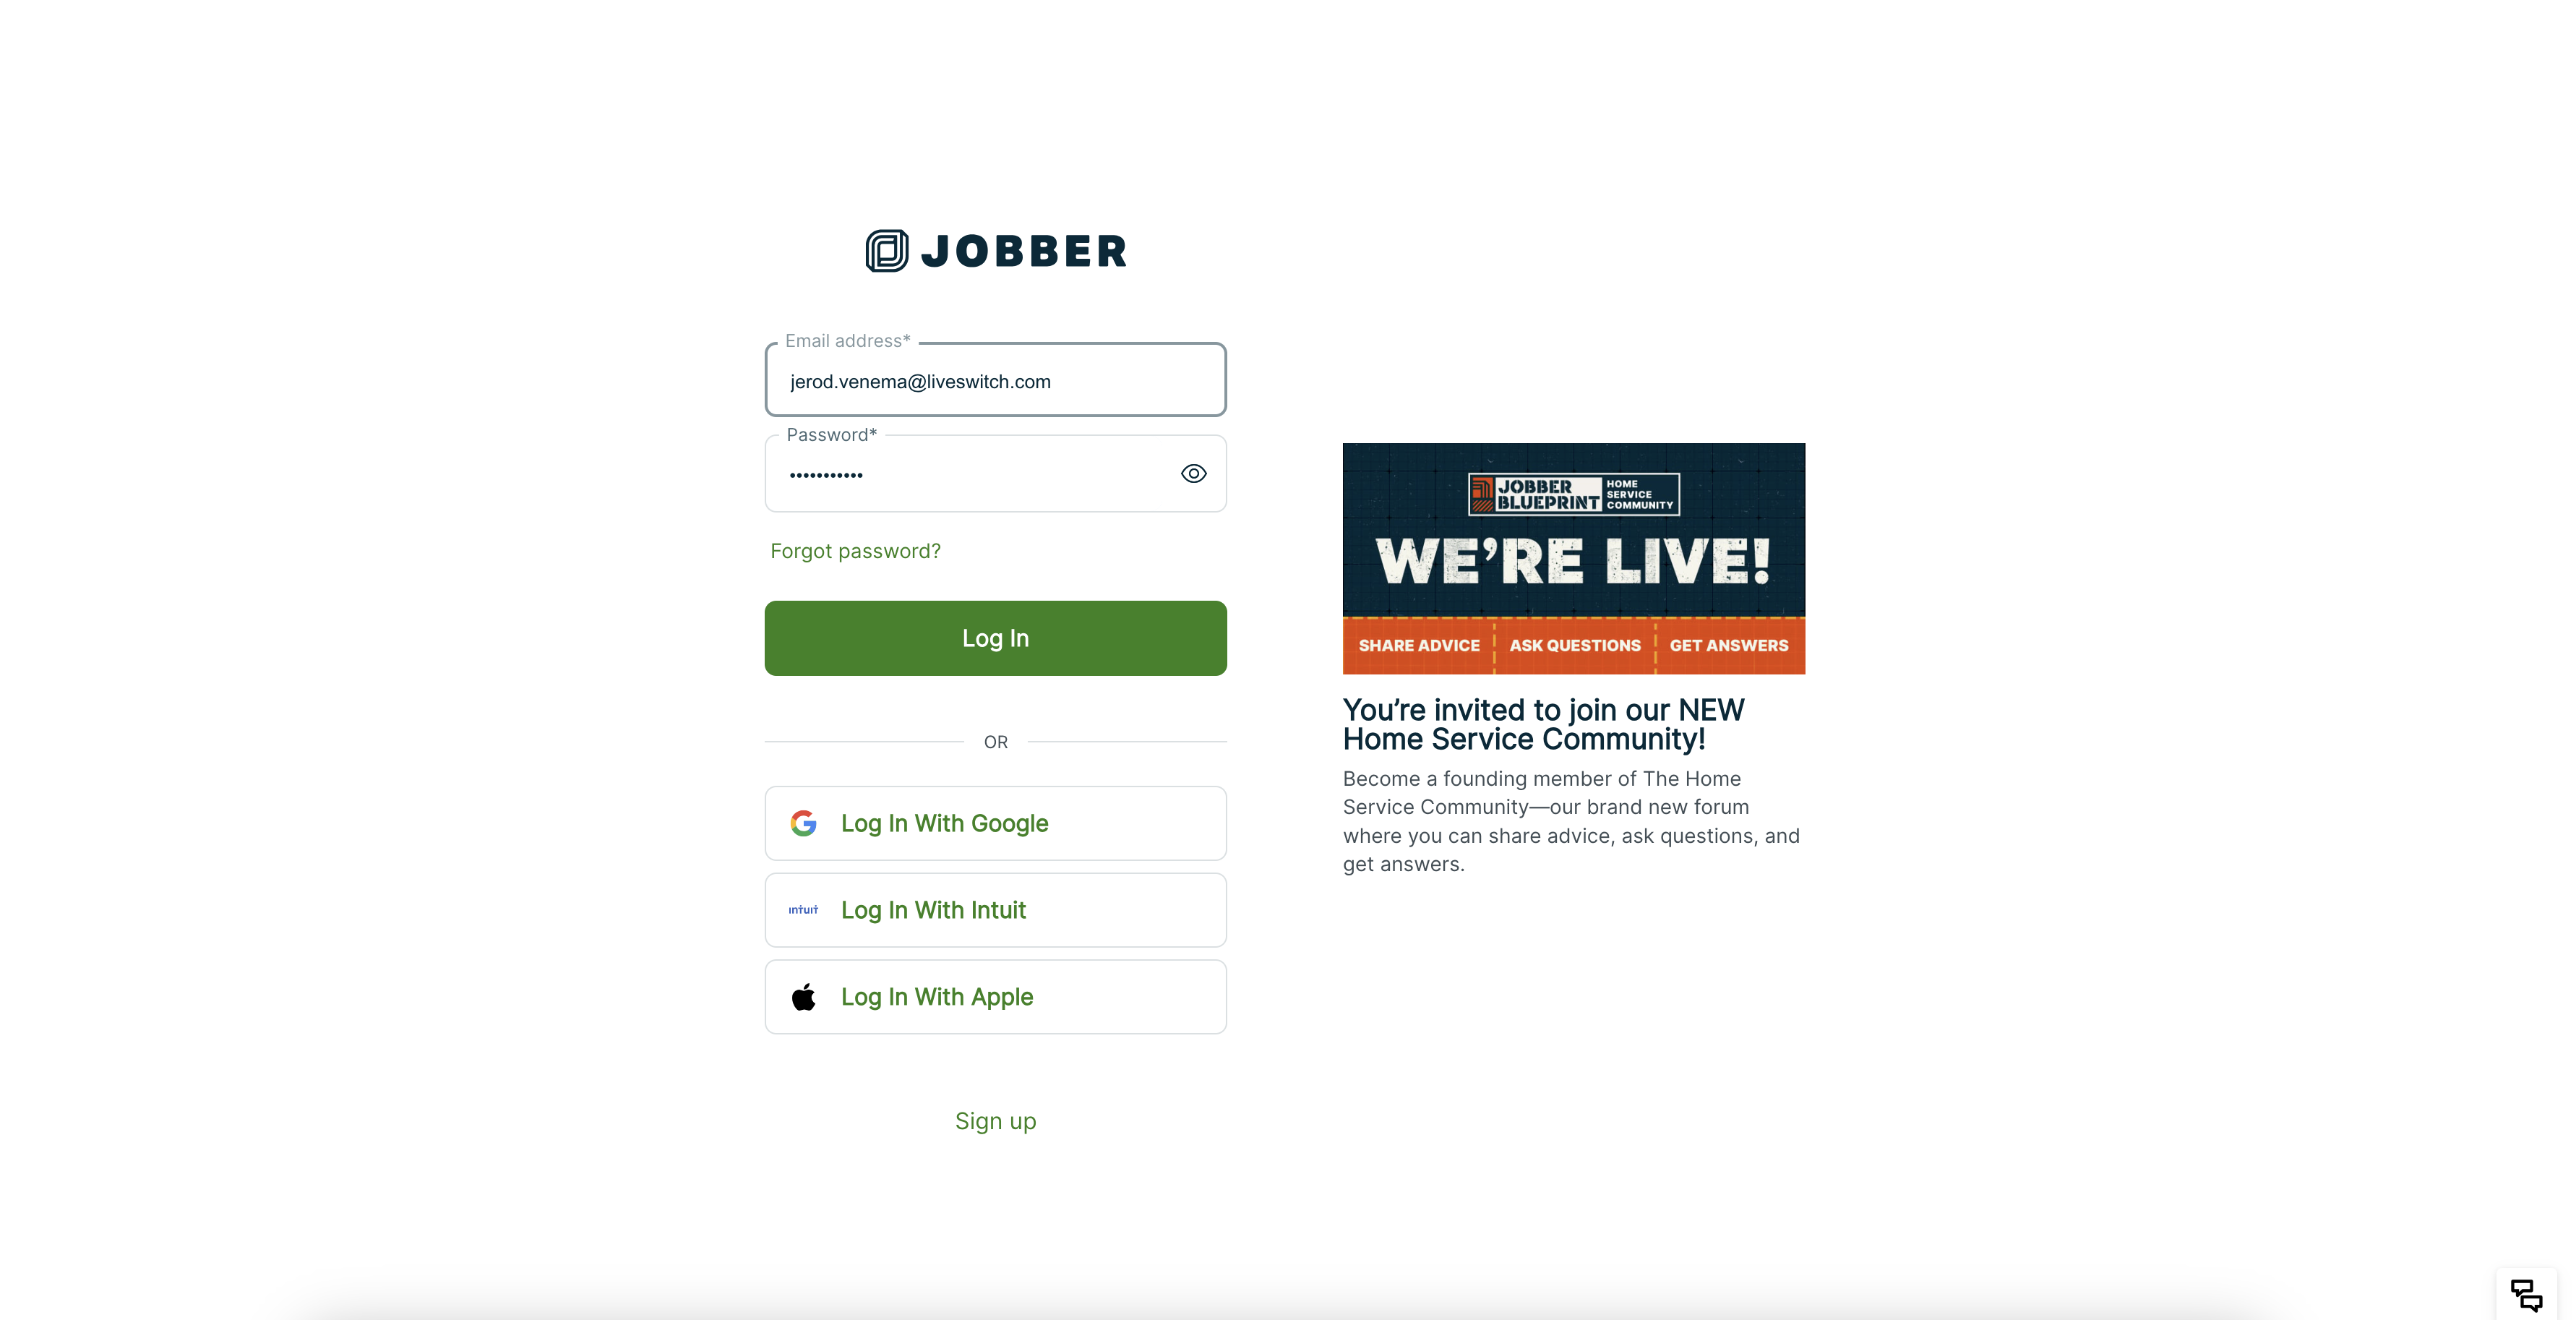
Second, we will begin the authentication process with Jobber. If you are not logged in to your Jobber account, it will prompt you to sign in. If you are already logged in, you will skip ahead to the allow permissions screen.
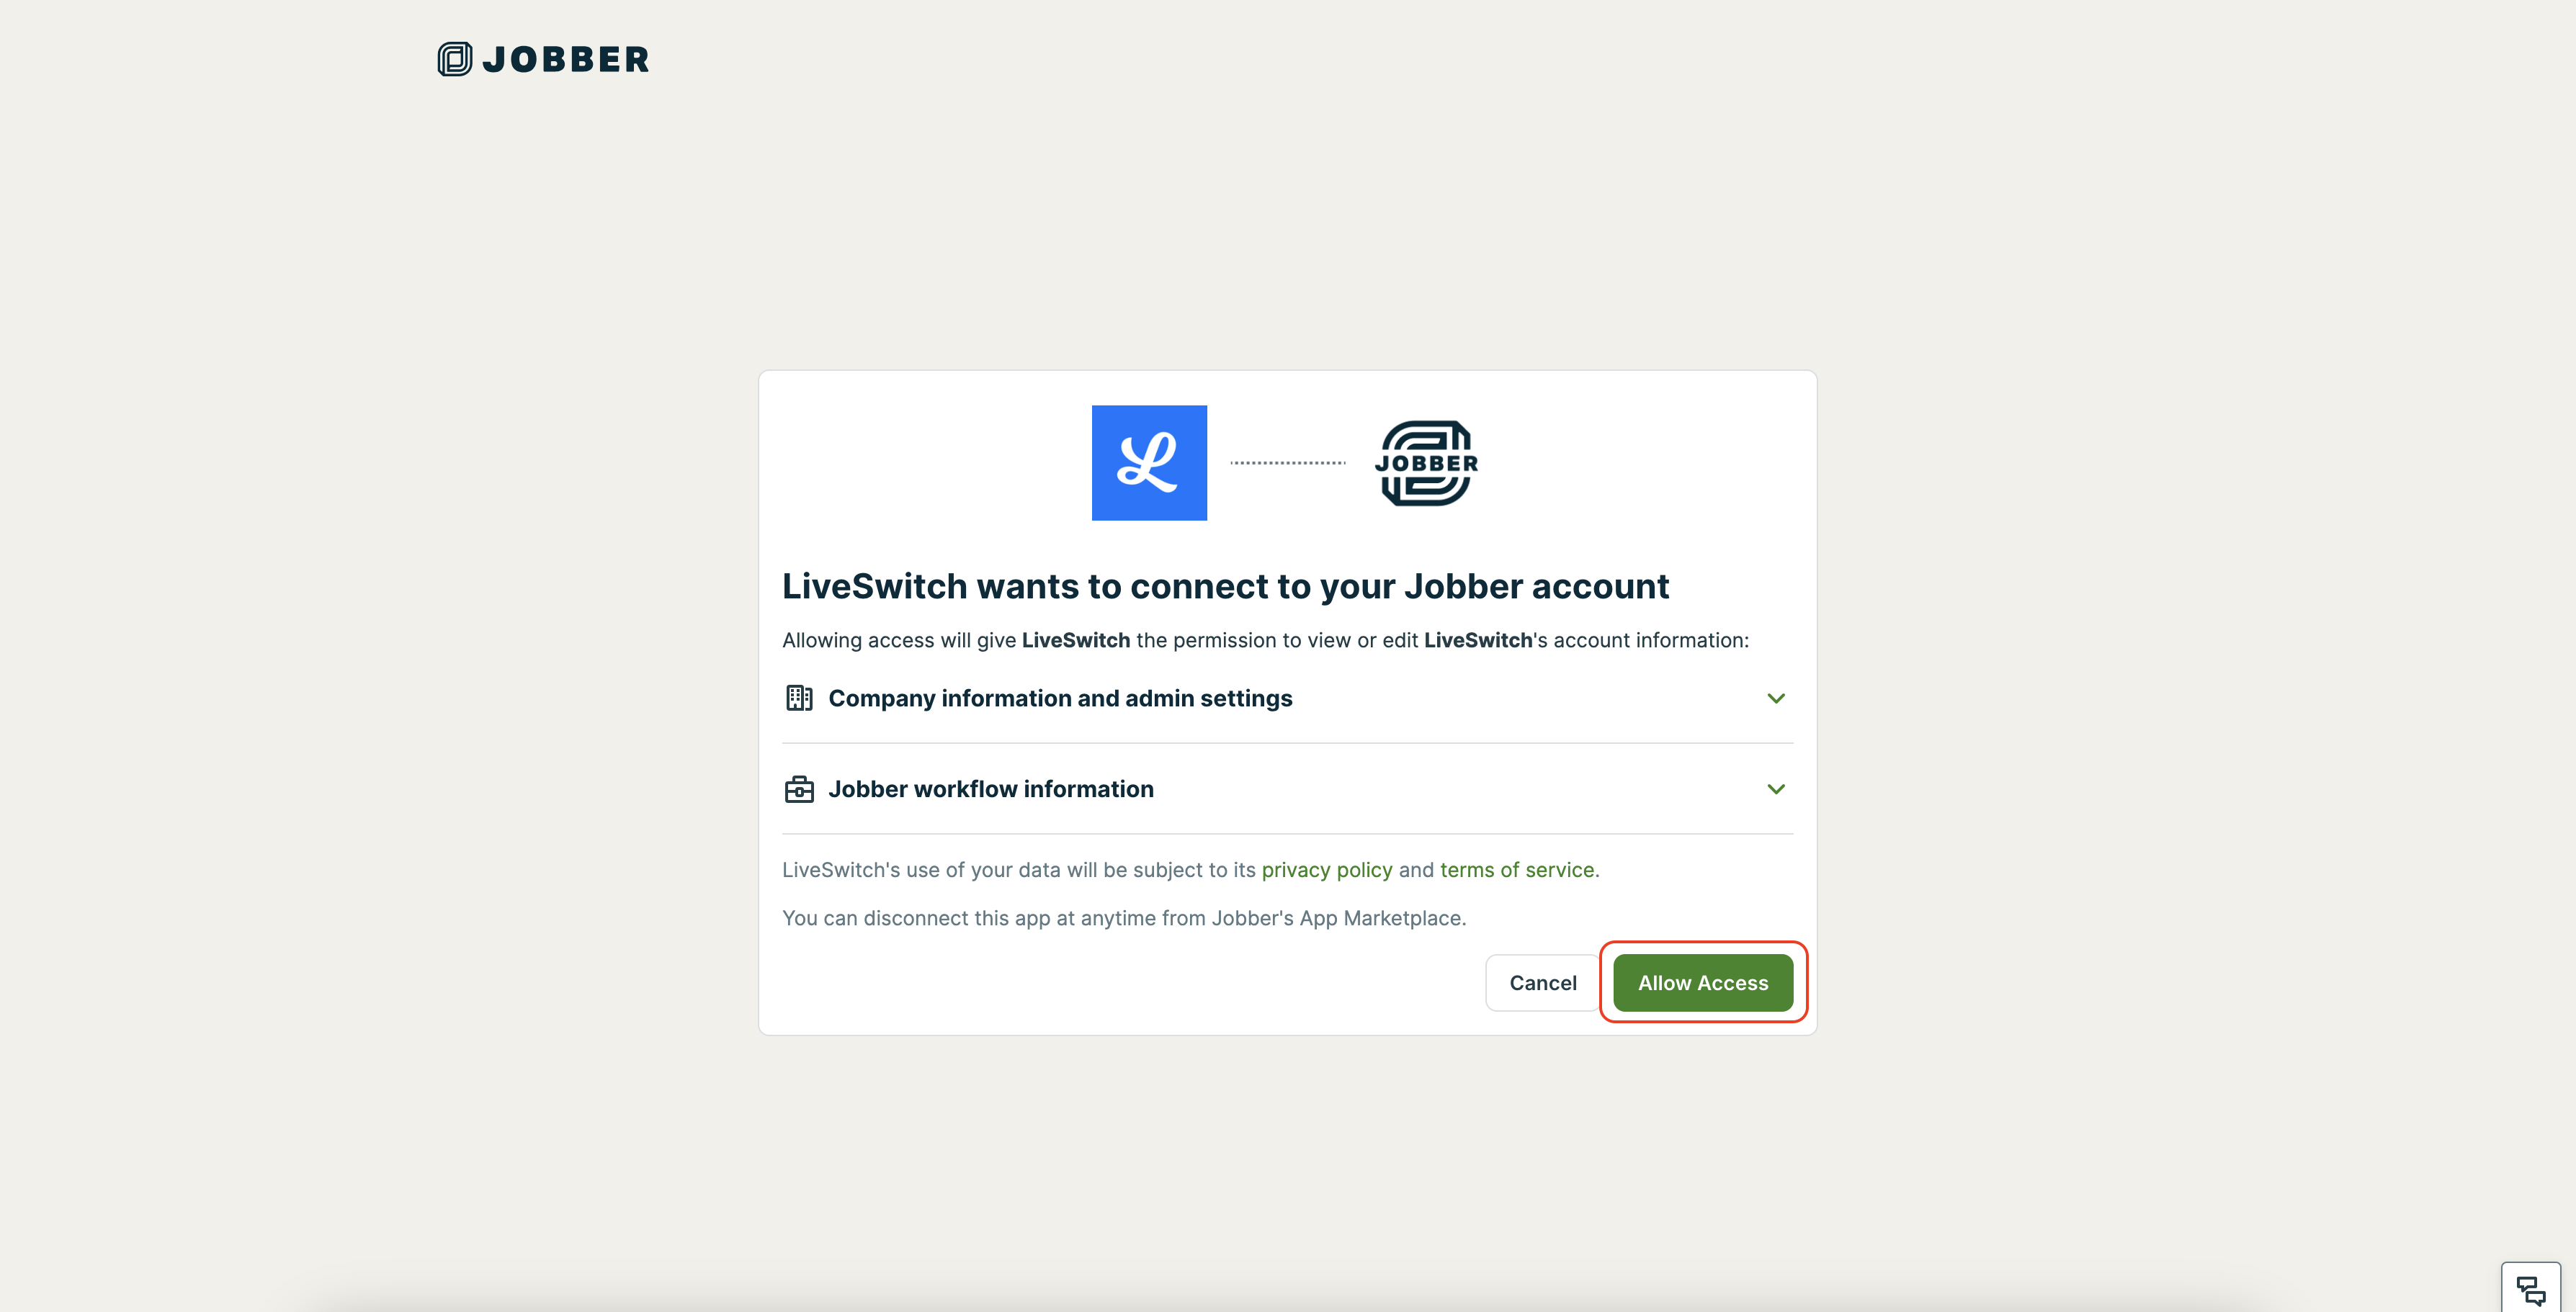
On the permissions screen, select 'Allow Access' to complete the authentication process.
If you run into any issues, please contact [email protected]
Updated about 1 month ago