Albi
By LiveSwitch
Description
The LiveSwitch integration with Albi allows LiveSwitch customers who use Albi's restoration field service management software to:
- Access LiveSwitch media in Albi
- Sync Albi and LiveSwitch contacts back and forth
- Start live video calls, take photos and start and request recordings from Albi
Need help? Contact [email protected]— we're here to assist you.
Features & Functionality
Sync project media files back into Albi as links in project timelines
Any content you add to the LiveSwitch project automatically shows up as notes on the linked Albi project timeline. View or download files without having to hunt for them.
Flip the Switch: Enhance Albi integration features and functions with the LiveSwitch Launcher Chrome extension to view media directly in the Albi project timeline. Install the Chrome extension
Start live video calls, take photos and start or request recordings directly from Albi tasks
For every Albi task, you’ll see the option to:
Start a Live Call
Request Recording
Take Photos
Start a LiveSwitch Recording
Clicking Start a Live Call and Request Recording launches a LiveSwitch session with the client’s phone number pre-set, keeping everything tied to that project, instantly messaging the recipient to join the Live Call or to complete the Request Recording task.
Sync contacts into LiveSwitch back and forth
Save time by linking your Albi contacts with LiveSwitch, so you can manage contacts, start a live call, take photos and request or start a recording without re-entering contact details.
Installation
Step 1: Create Task Action types for LiveSwitch sessions.
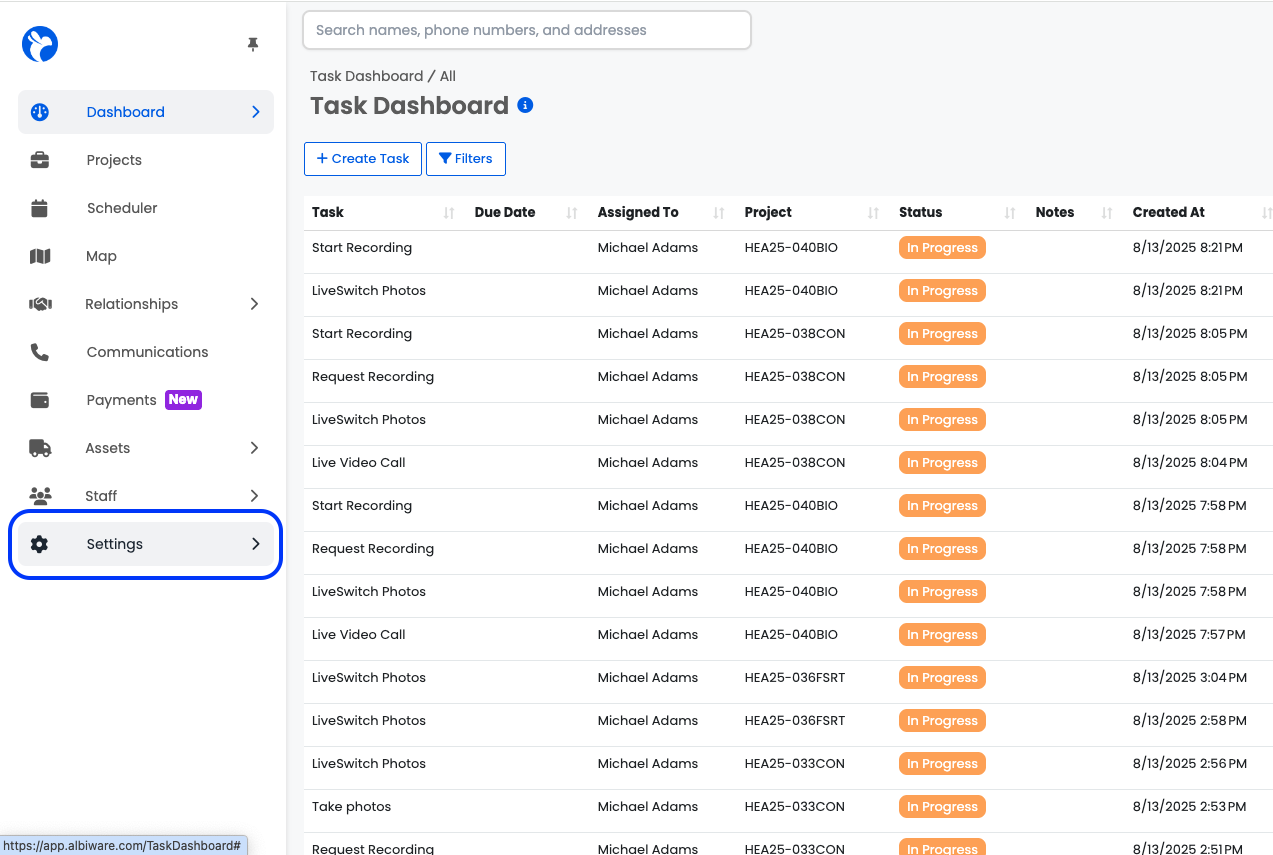
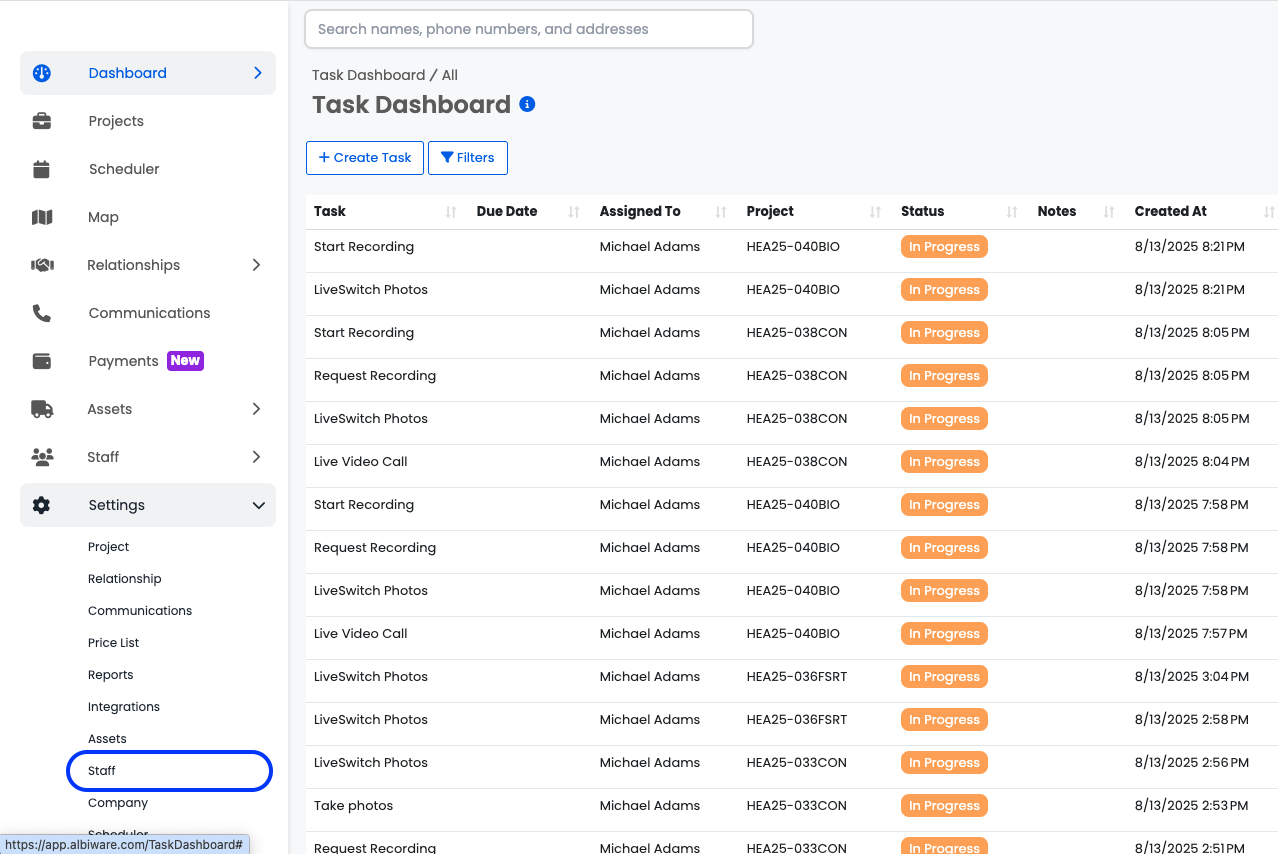
Log in to your Albi account. On the left-hand navigation panel, select 'Settings' to expand the menu, and then select 'Staff.'
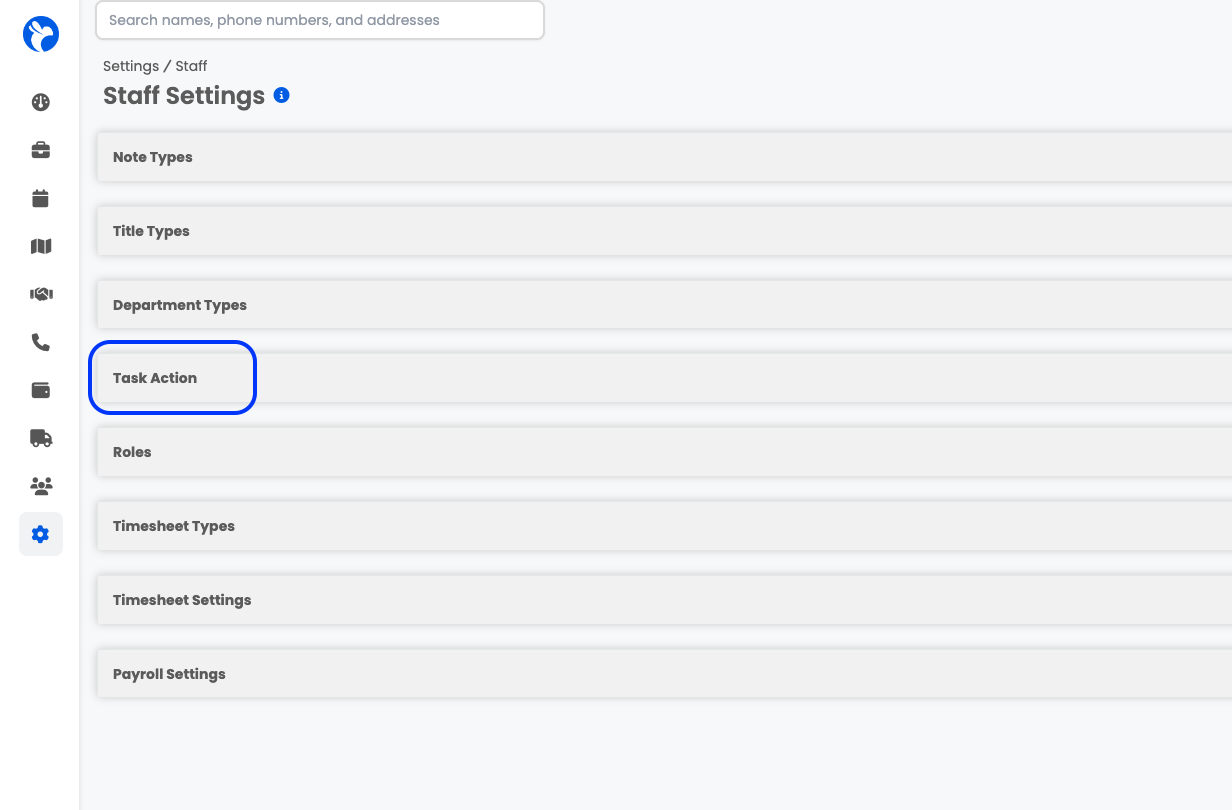
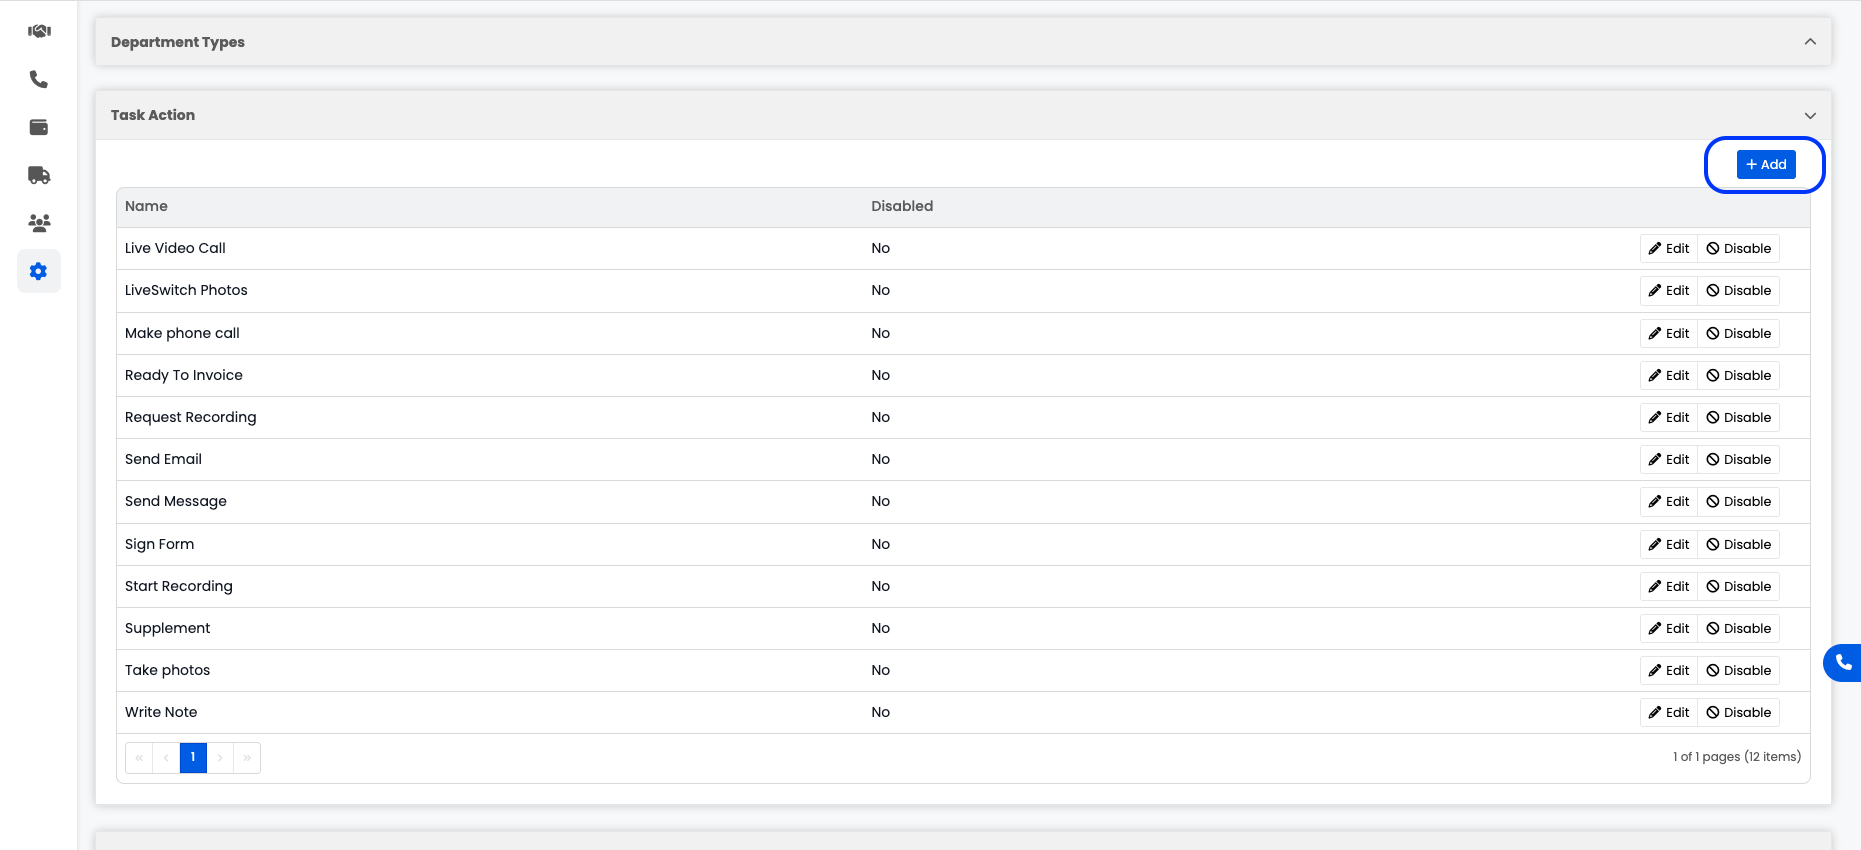
On the 'Staff Settings' page, select 'Task Action' to expand the section. Once the section is expanded, select 'Add' and create new task actions for the following task types:
- Live Video Call
- LiveSwitch Photos
- Request Recording
- Start Recording
Whenever a task is created with one of these types, it will initiate the corresponding session type in LiveSwitch.
When creating the new 'Task Action' types, you must use the exact names, including capitalization, that you see above for task types.
Step 2: Create a relationship status to identify contacts created by LiveSwitch.
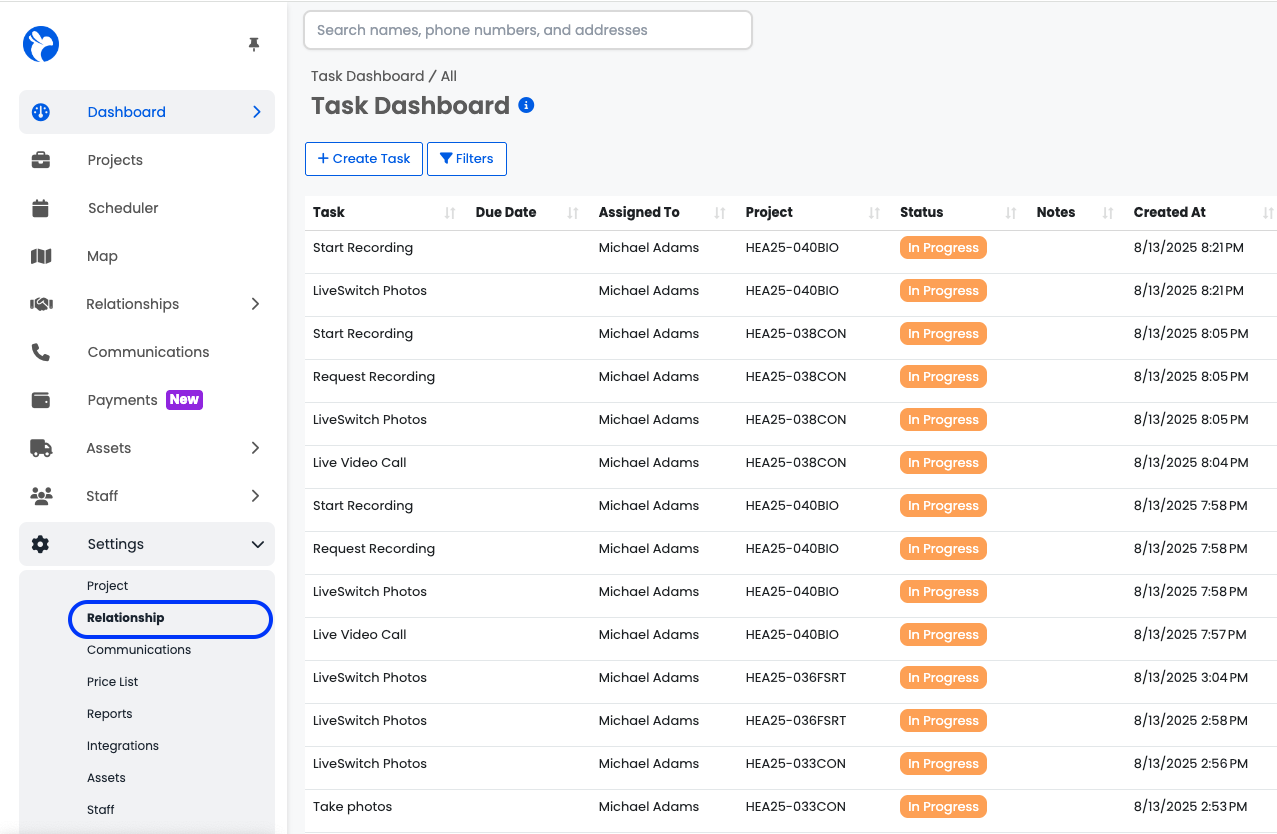
Log in to your Albi account. On the left-hand navigation panel, select 'Settings' to expand the menu, and then select 'Relationship.'

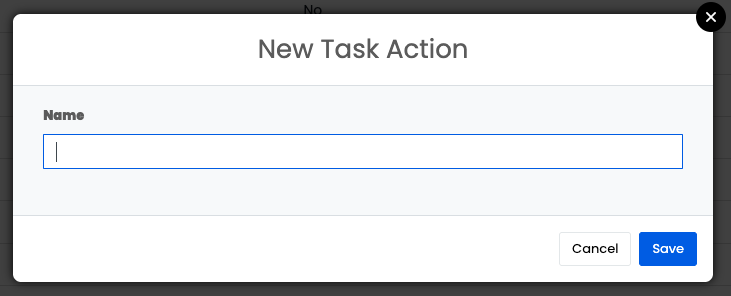
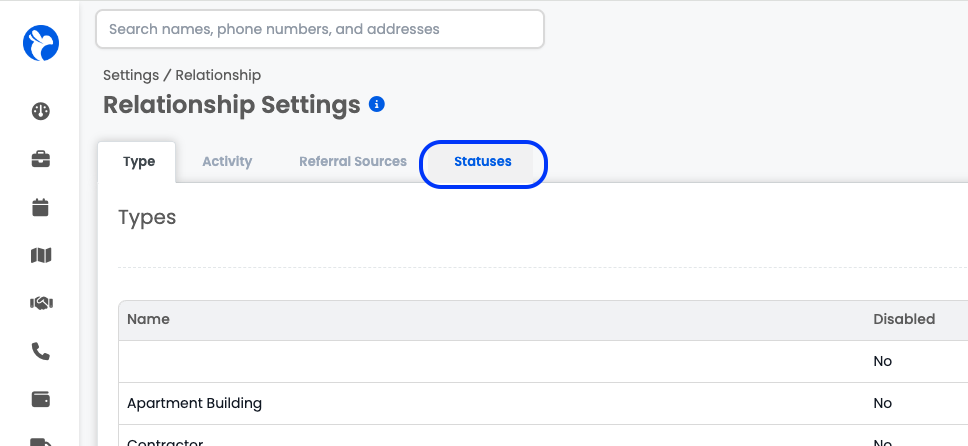
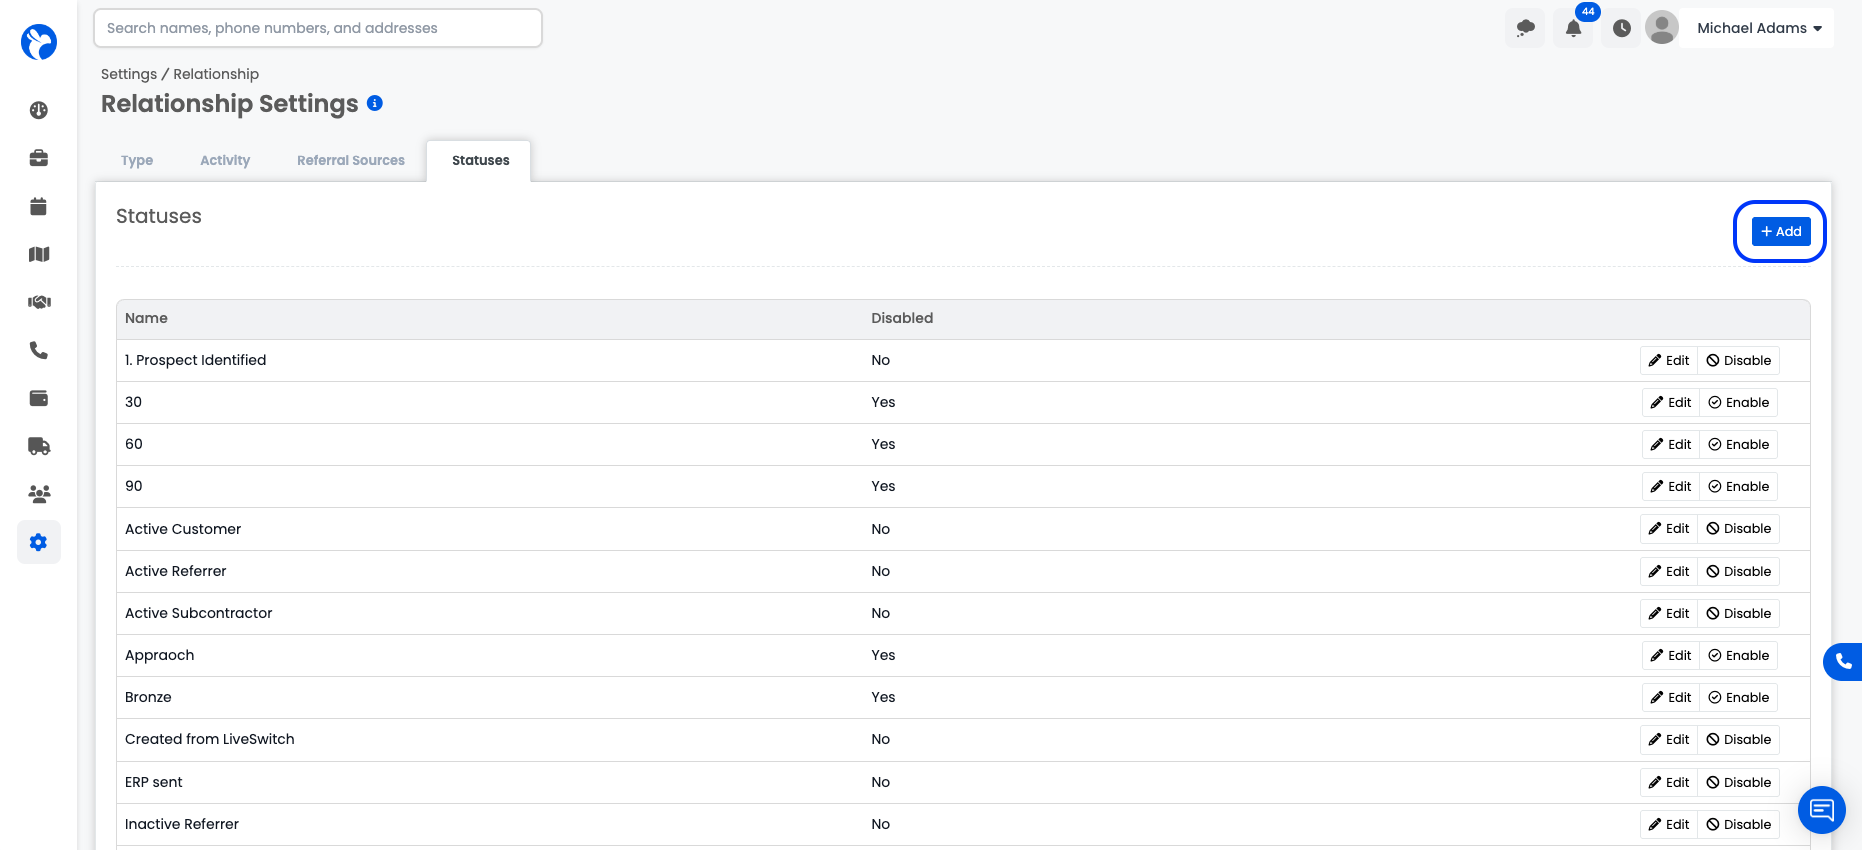
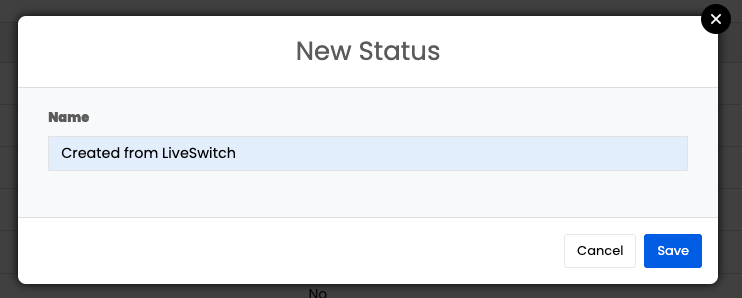
On the 'Relationship Settings' page, select 'Statuses' to navigate to the statuses tab. Once you are on the 'Status' tab, select 'Add' and create a new status called 'Created from LiveSwitch' and select 'Save.'
Whenever a contact is created in LiveSwitch and synced with Albi, the 'Created from LiveSwitch' status is added to the Albi contact record.
Step 3: Log in to your LiveSwitch account.
If you are not already logged in, go to https://app.contact.liveswitch.com and log in to your LiveSwitch account.
Step 4: Go tohttps://app.contact.liveswitch.com/apps to access the LiveSwitch app marketplace.
You can access the app marketplace by going directly to that page via the URL or selecting the ‘App’ menu item in the left menu bar.
Step 5: Select 'Connect' on the Albi App
First, we will authenticate your LiveSwitch account with the LiveSwitch API. When the screen below appears, select 'Accept' to continue. This step will not always be necessary.
Step 6: Enter your Albi API key ( This will be found in Settings -> Integrations -> Configure -> Show Key, then copy the API key displayed.)
Second, we will begin the authentication process with Albi. It will prompt you to enter your API key. Paste your Albi API key in the authenticator, and click 'Continue.'
Step 7: Start using your new integration.
If you run into any issues, please contact [email protected]
Updated 5 months ago