Kickserv
By LiveSwitch
Description
The LiveSwitch integration with Kickserv allows LiveSwitch customers who use Kickserv's field service management software to automatically add LiveSwitch photos, video recordings and files to Kickserv jobs.
Install the Kickserv Integration
Need help? Contact [email protected]— we're here to assist you.
Features & Functionality
Automatically add LiveSwitch photos, video recordings and files to Kickserv jobs
When the LiveSwitch / Kickserv app is installed in LiveSwitch or a new job is created in Kickserv, the app automatically creates a corresponding project in LiveSwitch for any active Kickserv jobs. Whenever a photo, video recording or file is created and assigned to that LiveSwitch project, the media is automatically added to the Kickserv job as a job note.
Flip the SwitchEnhance Kickserv integration features and functions with the LiveSwitch Launcher Chrome extension to view media directly in Kickserv jobs. Install the Chrome extension
Installation
Step 1: Select your unique account ID
You will need two pieces of information from your Kickserv account before installing the integration. The first is your unique account ID.
To find your unique account ID, log in to your Kickserv account and go to the 'Dashboard' area. In the browser's URL bar, you should see something that looks similar to this:
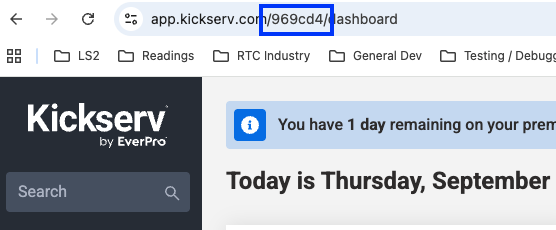
The unique account ID is the value after '.com/' and before '/dashboard' in the URL. Copy this down somewhere you can easily access it.
Step 2: Select your unique account API key
The second piece of information you will need is your unique account API key.
To find your unique account API, log in to your Kickserv account and go to the 'Dashboard' area. In the left-hand menu bar, select your name at the bottom of the menu, followed by 'Profile' in the sub-menu that will open.

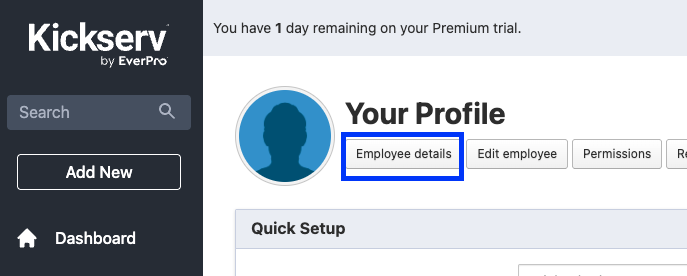
In the 'Your Profile' area, select the 'Employee details' option next to your avatar. On the page that opens, copy the API Token and save it somewhere you can easily access it.
You must be an admin in Kickserv to see the API Token.
Step 3: Log in to your LiveSwitch account
If you are not already logged in, go to https://app.contact.liveswitch.com and log in to your LiveSwitch account.
Step 4: Go tohttps://app.contact.liveswitch.com/apps to access the LiveSwitch app marketplace
You can access the app marketplace by going directly to that page via the URL or selecting the ‘App’ menu item in the left menu bar.
Step 5: Select 'Connect' on the Kickserv App
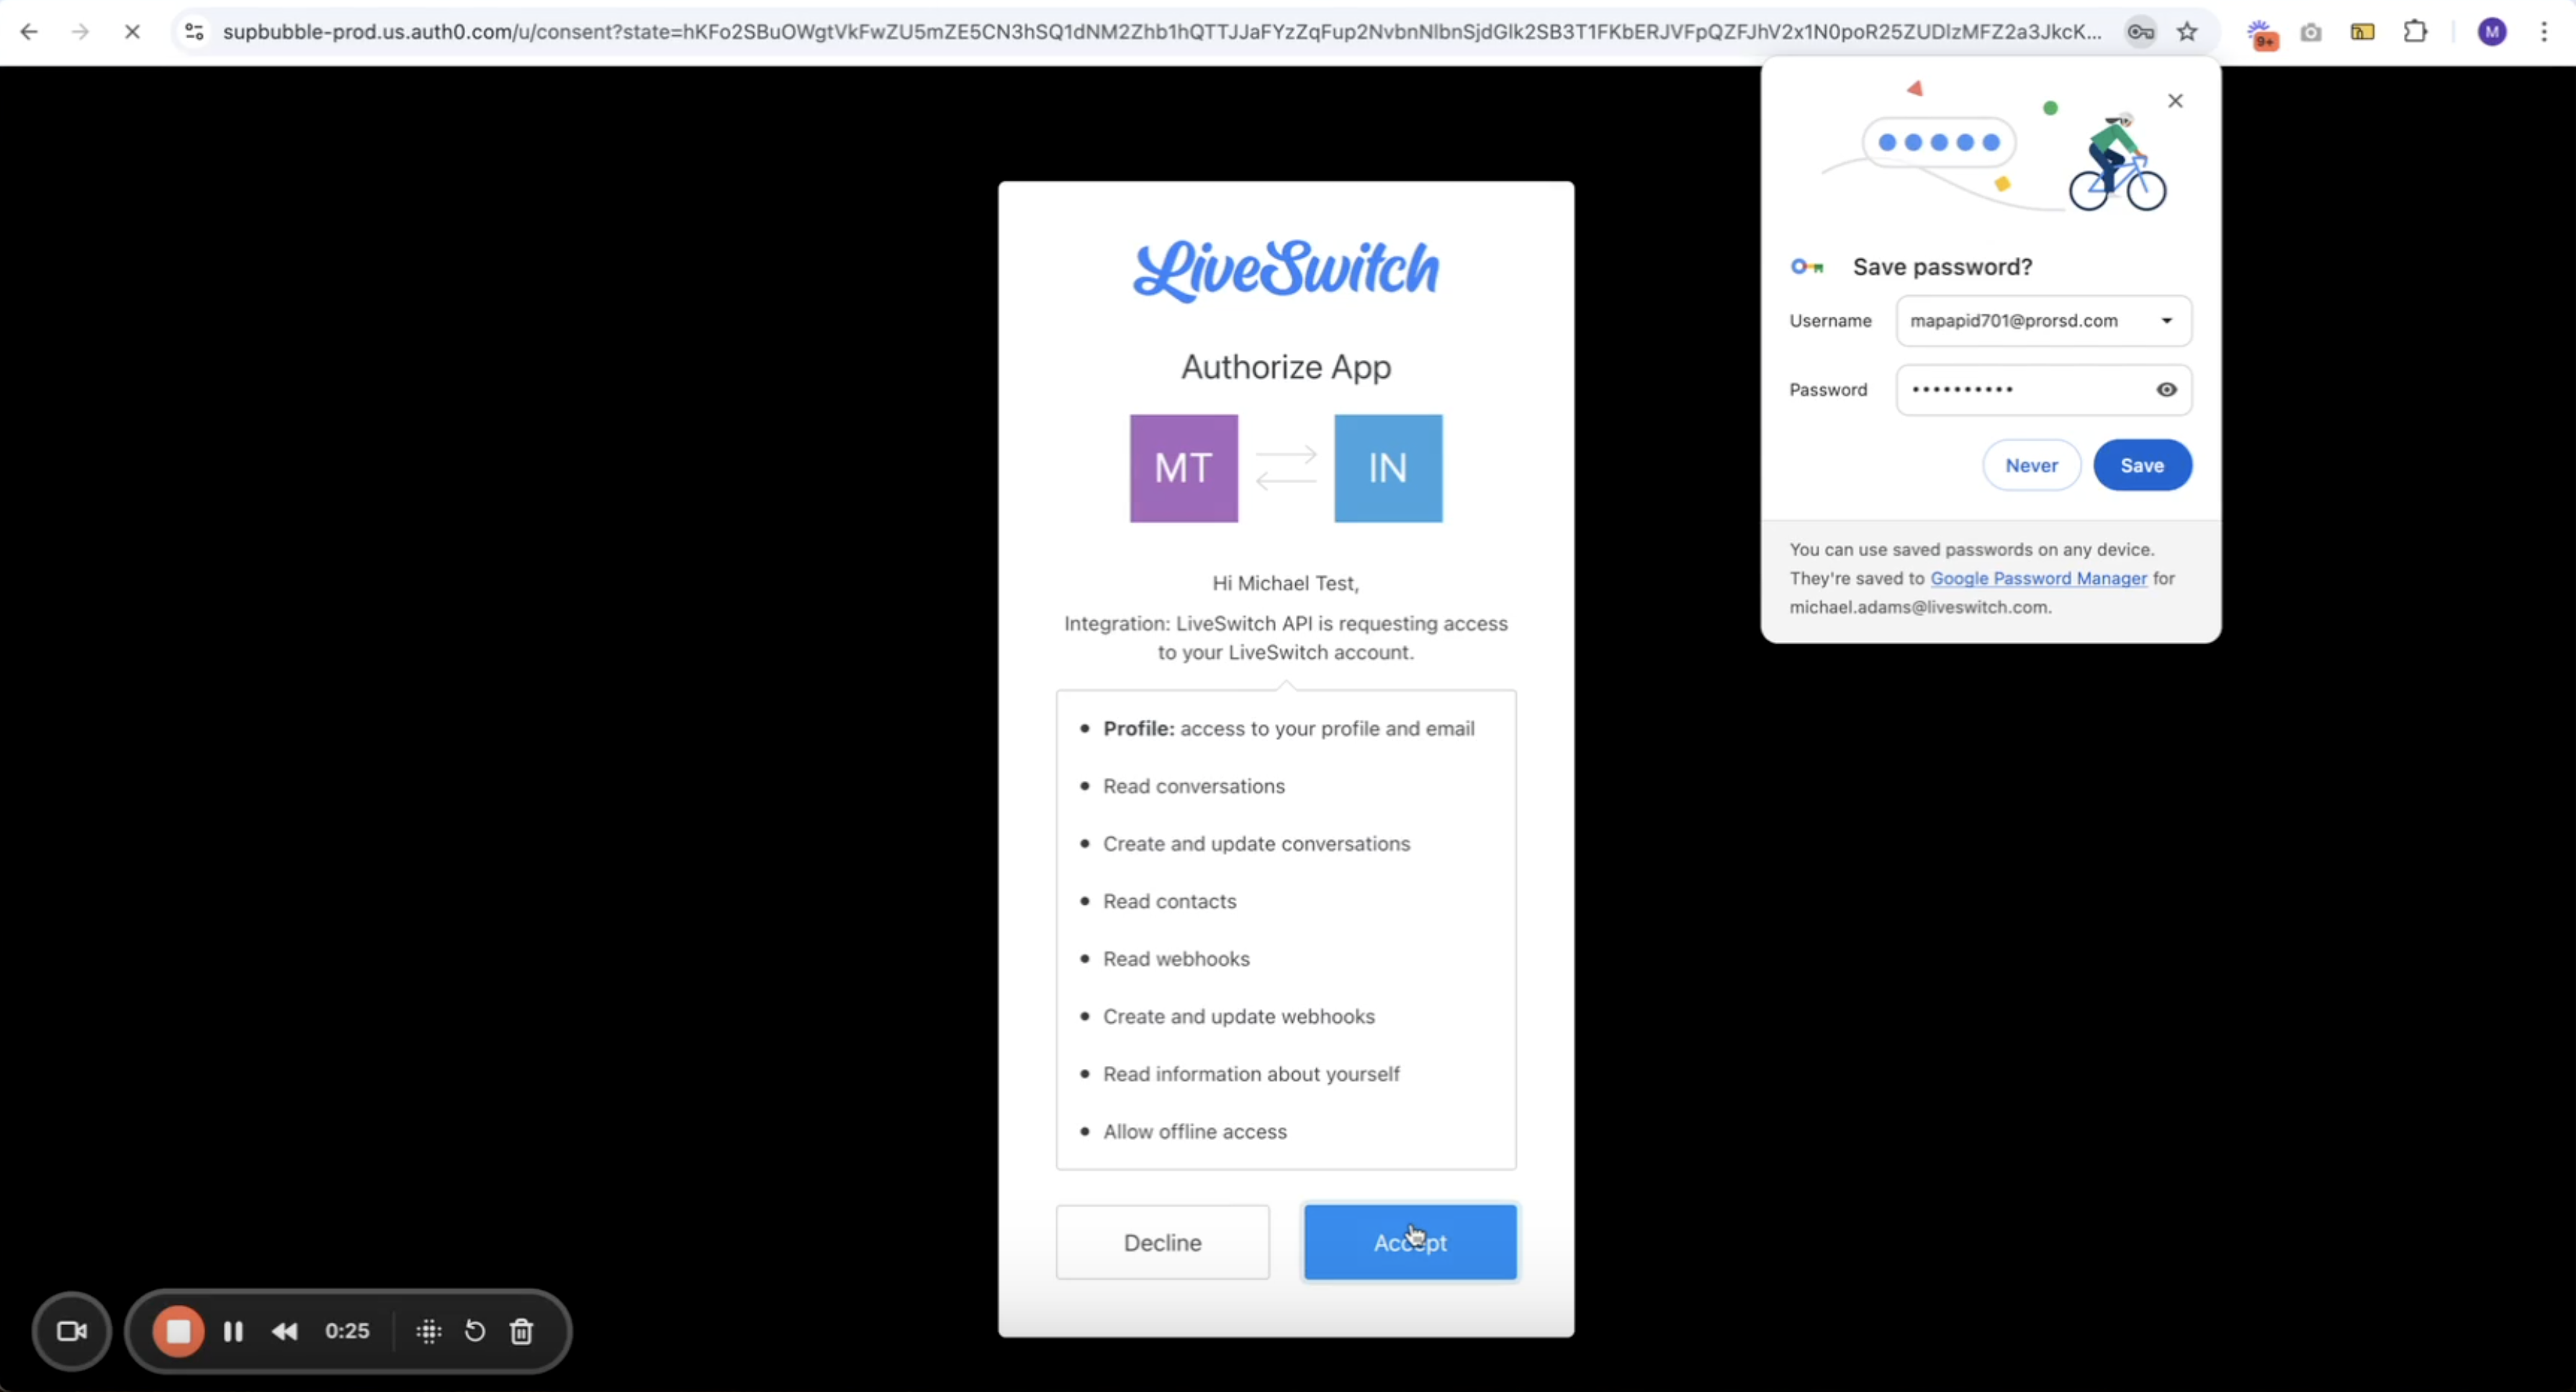
First, we will authenticate your LiveSwitch account with the LiveSwitch API. When the screen below appears, select 'Accept' to continue.
This step will not always be necessary.
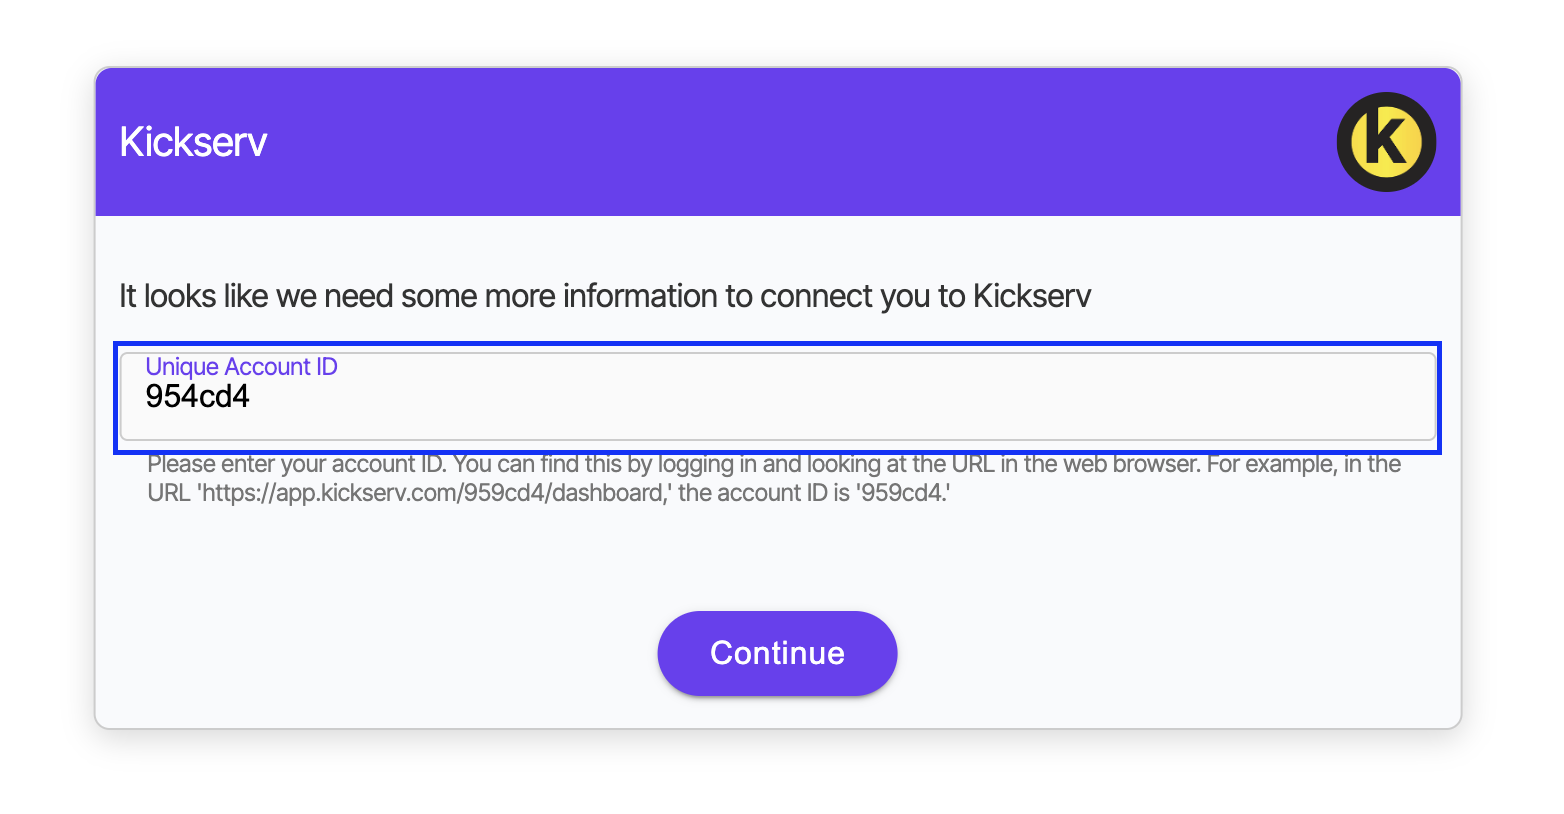
Step 6: Enter your Kickserv unique account ID
Next, we will begin the authentication process with Kickserv. On the first screen that pops up, add your unique account ID we collected in Step 1 of the installation process.
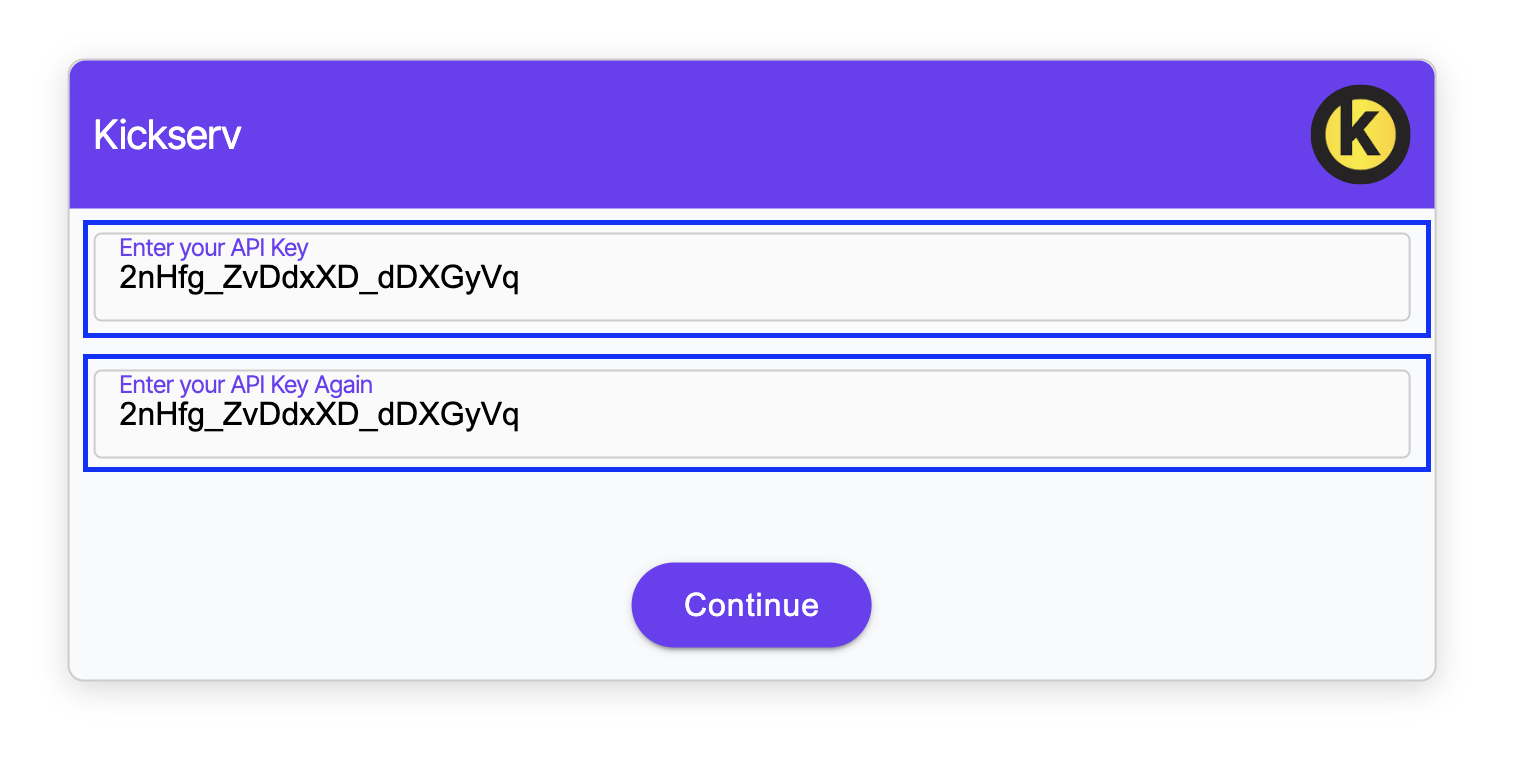
Step 7: Enter your Kickserv unique API key
Finally, on the screen that follows, enter your Kickserv API key that we collected on Step 2 into both fields and click 'Continue.'
Step 8: Start using your new integration
If you run into any issues, please contact [email protected]
Updated 5 months ago